Organize Data Loads with Load Planner Groups in NCC Portal
A Loadgroup in NCC Portal is a collection of entities, such as Landing Zone or Gold, that share a unified load schedule. Loadgroups enable efficient management and organization of data loading processes.
Default Loadgroup
By default, all entities are assigned to the Default loadgroup. This configuration ensures that all entities are loaded through the Landing Zone, Bronze, Silver, and Gold layers.
Advantages of Additional Loadgroups
Adding extra loadgroups allows you to:
- Schedule more frequent loads for specific entities (for example, daily, weekly, or custom intervals).
- Align data loading with maintenance windows for database servers.
- Isolate unreliable APIs, enabling targeted retries for affected entities.
- Reload only Gold Layer entities after updating business logic in your Semantic Model or Warehouse.
Add Entities to a Loadgroup
You can add entities to a loadgroup in two ways: via the Landing Zone entity or Gold entity screens, or through the Load Planner Groups page.
Note
You can remove entities from Load Planner Groups using the same two methods as adding them. Instead of adding the entity to a new Load Planner Group, select the bin symbol next to the Load Planner Group you want to remove the entity from.
Important
When you add a Landing Zone or Gold entity to a Load Planner Group, all linked Bronze and Silver entities will also be included in the Load Planner Group. This ensures that the entire data load process is executed in the correct order, maintaining data integrity and consistency across all layers.
Add via the Entity Page
To add a Landing Zone or Gold entity to a Load Planner Group:
- Navigate to the entity page.
- Click the Load Planner symbol:

- In the dialog that appears, select the Load Planner Group to add the entity to.
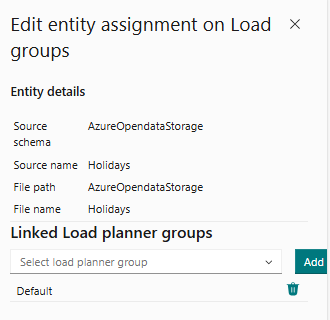
Attention
Adding an entity that is already promoted to Production to a Load Planner Group in Development will only add the entity to the Development Load Planner Group. You must promote the entity to Production to include it in the Production Load Planner Group.
Add via the Load Planner Groups Page
To add entities using the Load Planner Groups page:
-
Select the Load Planner Group you want to use and click the pencil symbol to edit or create a Load Planner Group.

-
Select the entity you want to add.
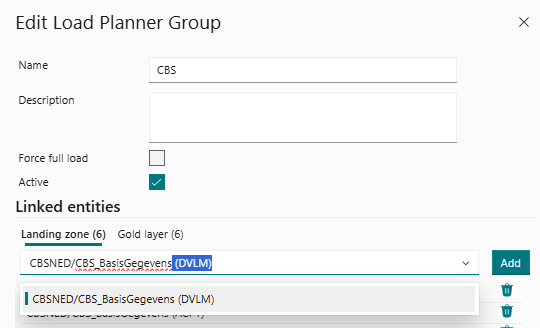
- Save the updated Load Planner Group.
Create a Schedule
Configure a Loadgroup Schedule
To configure a schedule for a loadgroup:
In the ribbon, select Schedule and configure the desired schedule by clicking Add schedule.
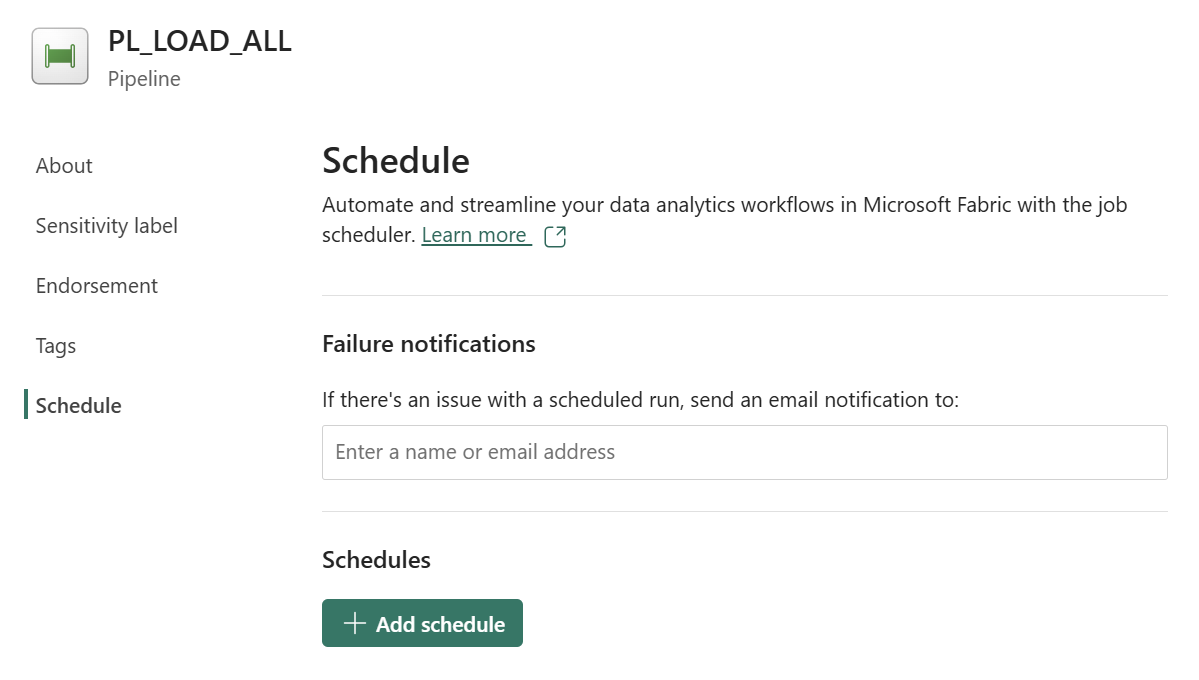 Now you can set the schedule parameters for the loadgroup, including frequency, start time and end time.
- Define frequency, start time, and end time for the loadgroup schedule. You can choose from options such as daily, weekly, or custom intervals.
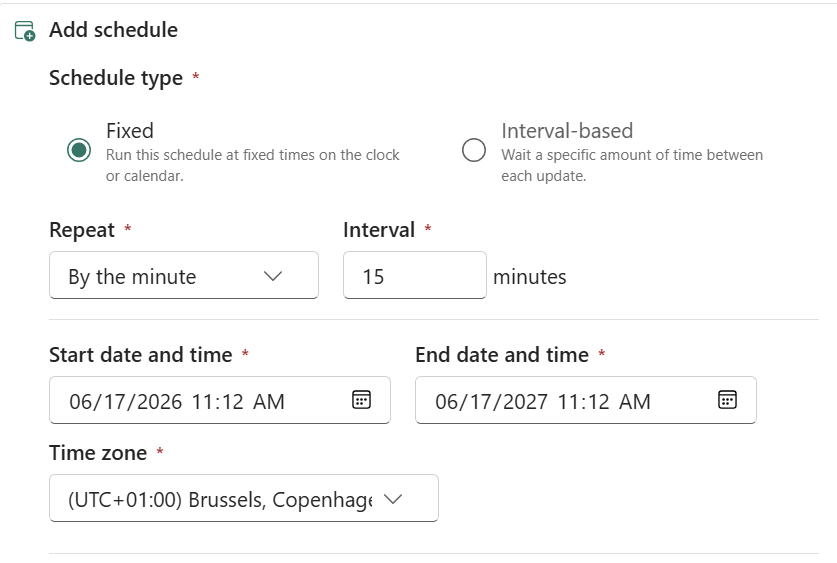
-
Define loadgroups to be loaded in the schedule. You can select one or multiple loadgroups to be included in the schedule; this must be a comma-separated list of loadgroup names (no spaces). If you do not set the LoadGroups parameter, the default loadgroup will be used. The default loadgroup is the loadgroup that contains all entities in the NCC portal.
-
Optionally, you can define whether you want to load the Gold layer (if configured in the NCC portal). This is useful if you want to reload only the Gold layer after updating business logic in your Semantic Model or Warehouse.
LoadGoldistrueorfalse; the default istrueif you don't add the parameter. If you do not want to load the Gold layer, setLoadGoldtofalse.
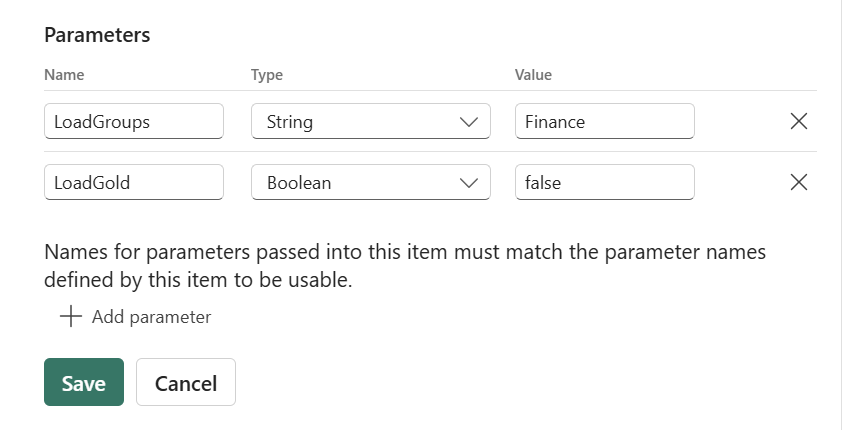
Parameter Names
Names for parameters passed into this item must match the parameter names defined by this item to be usable.
Schedule Considerations
When scheduling a loadgroup, consider the following: - The schedule should be set to run at intervals that allow sufficient time for the load process to complete before the next scheduled run. - Avoid scheduling overlapping runs for the same loadgroup to prevent potential conflicts and data inconsistencies.
Info
Use the Capacity Metrics App to verify that your schedule fits within available capacity.
Configure Failure Notifications
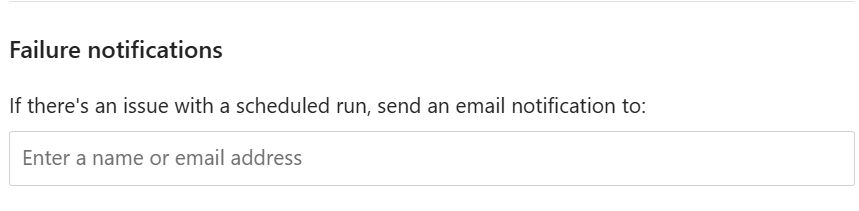
You can configure email notifications to be sent when a scheduled pipeline run fails. Notifications aren’t sent for on‑demand runs.
To configure failure notifications, open the pipeline, select Schedule in the top banner of the Home tab, and add users or groups under Failure notifications.
Delete a Loadgroup Schedule
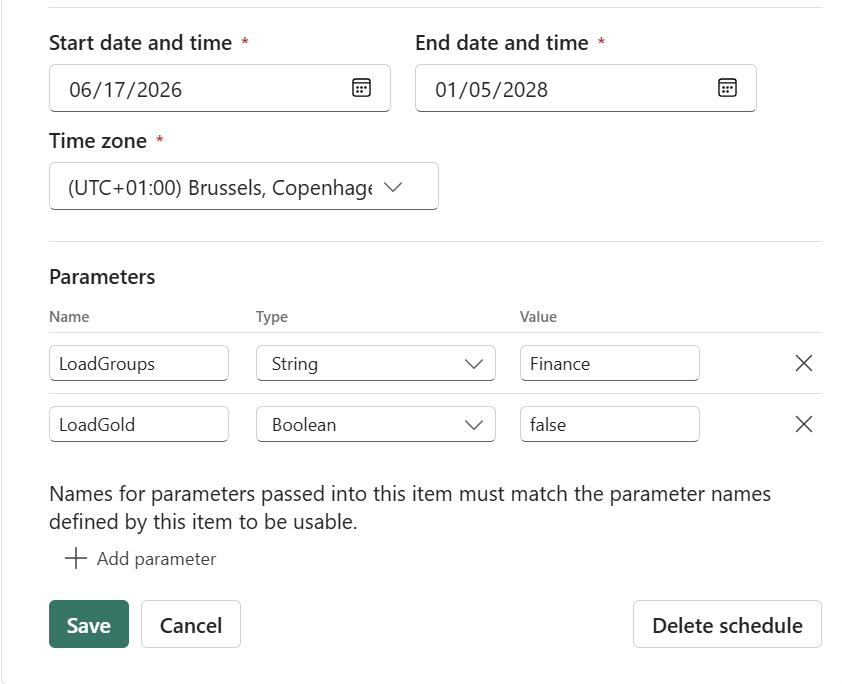
To delete a loadgroup schedule, open the pipeline, select Schedule in the top banner of the Home tab, and click Edit schedule.
More information about scheduling can be found in the Microsoft Fabric documentation.