Use the Domain Wizard in Microsoft Fabric
The Domain Wizard in the NCC portal guides you through creating new domains or updating existing ones in Microsoft Fabric.
Prerequisites
Before you start, ensure you meet these prerequisites:
Info
You need to be a Fabric administrator and a NCC administrator.
Sign in to the Fabric admin portal.
In Fabric admin portal > Tenant settings, make sure the following Microsoft Fabric tenant settings are enabled:
- Microsoft Fabric > Users can create Fabric items
- Workspace settings > Create workspaces
Create or update a domain
Follow these steps to create or update a domain using the Domain Wizard.
Step 1: Enter domain details
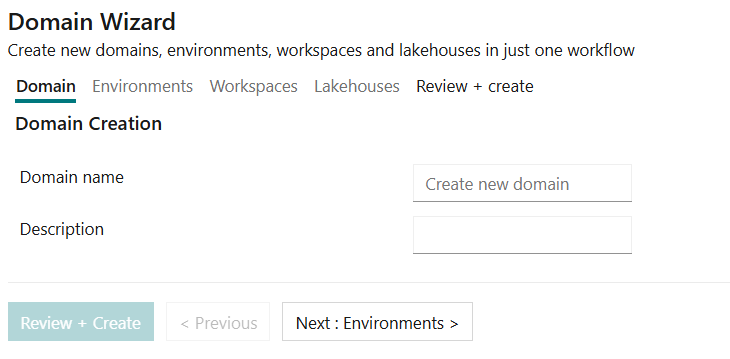
- Enter a domain name and description.
- Select Next: Environments.
Info
To update an existing domain, enter its name. If the domain exists, you'll see a message:
Domain already exists The domain name is already in use. If you proceed, any missing components will be added, existing components will not be affected. Click 'Next' to continue.
In this context, "will not be affected" means that existing components are not recreated as duplicates during validation. During deployment, existing components can still be updated to the latest supported version.
Step 2: Select environments
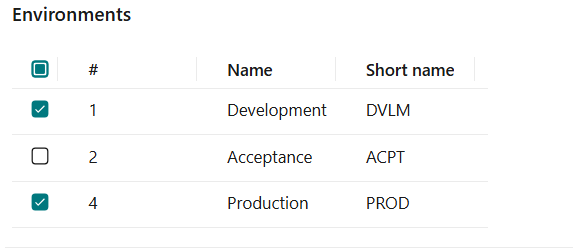
- Select the environments to deploy for this domain.
- Choose Next: Workspaces.
Step 3: Configure workspaces
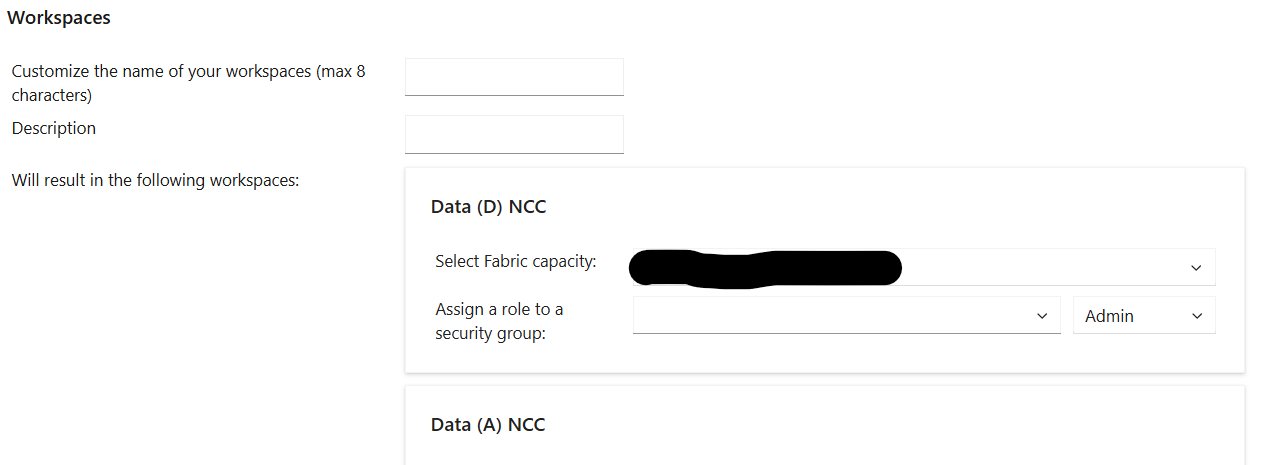
- Review the workspaces to be deployed.
- Enter a name for each workspace (maximum 8 characters).
- Optionally, add a description.
- Assign a Fabric capacity and a security group with its role to each workspace.
Tip
You can add additional security groups in Fabric after deployment.
- Select Next: Lakehouses.
Step 4: Configure lakehouses
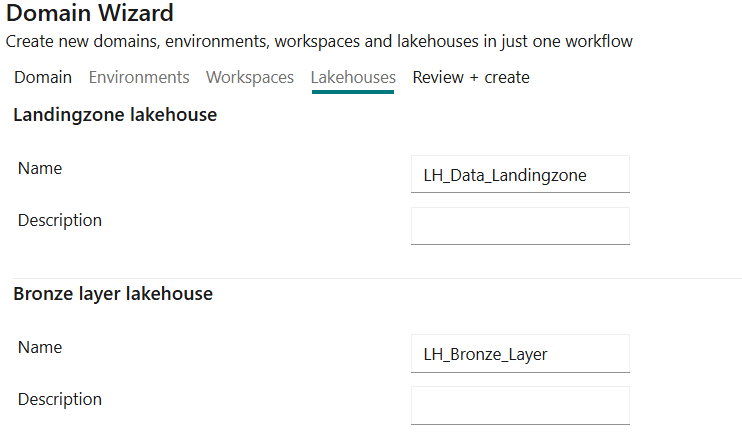
- Review the lakehouses to be deployed.
- Optionally, update the name and description for each lakehouse and warehouse.
- Select Next: Review + create.
Important
When you finish, the domain and all configured resources are deployed automatically.
If updating an existing domain, missing components are added and existing components are not recreated as duplicates. Existing components will be updated to the latest supported version during deployment.
Step 5: Review and create
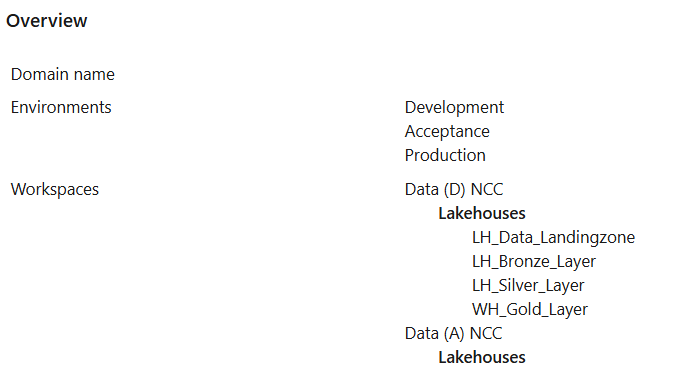
- Review the summary of domains and components to be deployed.
- If everything is correct, select Create to start deployment.
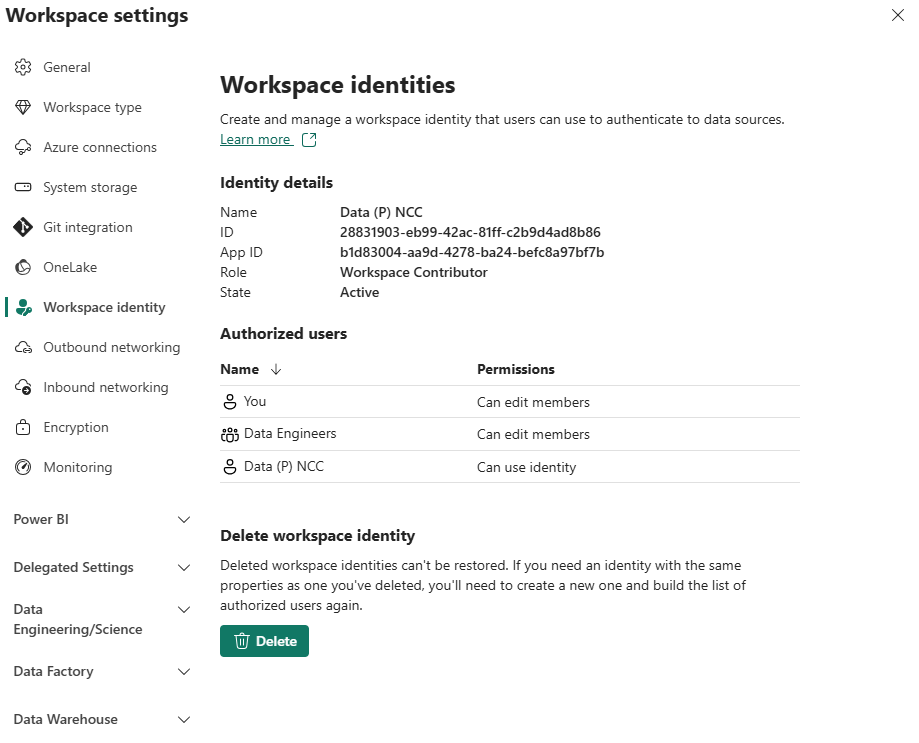
Step 6: Add workspace identity to security group
Once deployment completes, add each workspace identity to the security groups you selected during enrollment for its respective environment. This enables the workspace identities to call the required Fabric and NCC APIs.
You can find the workspace identity in Fabric under Workspaces > select workspace > Workspace settings > Workspace identity.