Deploy Nitrogen Control Center from Azure Marketplace
Learn how to purchase and deploy the Nitrogen Control Center offer using the Azure Marketplace.
Prerequisites
- You must have Owner or Contributor permissions for the target Azure subscription.
- You must have Billing Contributor permissions for the target Azure subscription.
- For CSP offers, InSpark can purchase the offer on your behalf.
- Market Place offers must be enabled.
Tip
For details on required roles, see Roles and permissions - Microsoft marketplace.
Step 1: Locate the Nitrogen Control Center offer
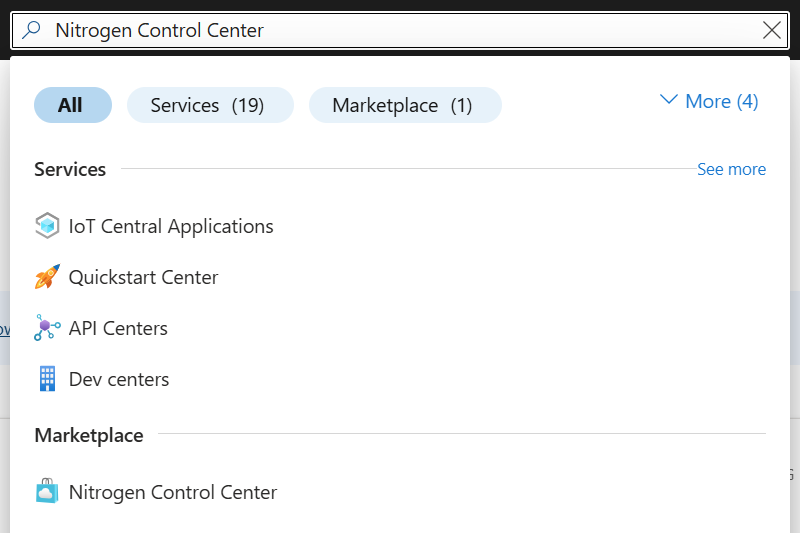
- Go to the Azure Portal.
- Search for Nitrogen Control Center.
Step 2: Configure deployment settings
- Select your Subscription and Resource Group.
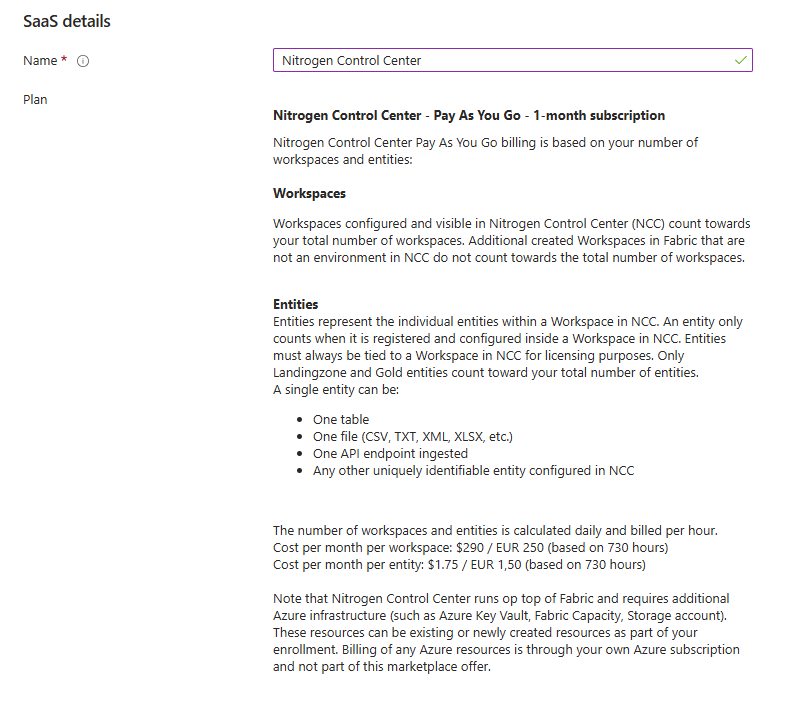
- Provide a name for the offer. Nitrogen Control Center is offered on the Pay as you Go plan.
Resource Name Requirements
The resource name can contain only letters, numbers, and the following characters '-_.()'. Name must be between 1 and 64 characters, and should not end with '.'
- Set Auto renew to ON. Otherwise, the subscription will expire after the initial term, and you will need to manually renew it to continue using the service.
Free trial
The Pay as you Go plan may be offered with a free trial period. See Trial subscriptions below for how the trial and auto renewal behave.
Step 3: Enter account details
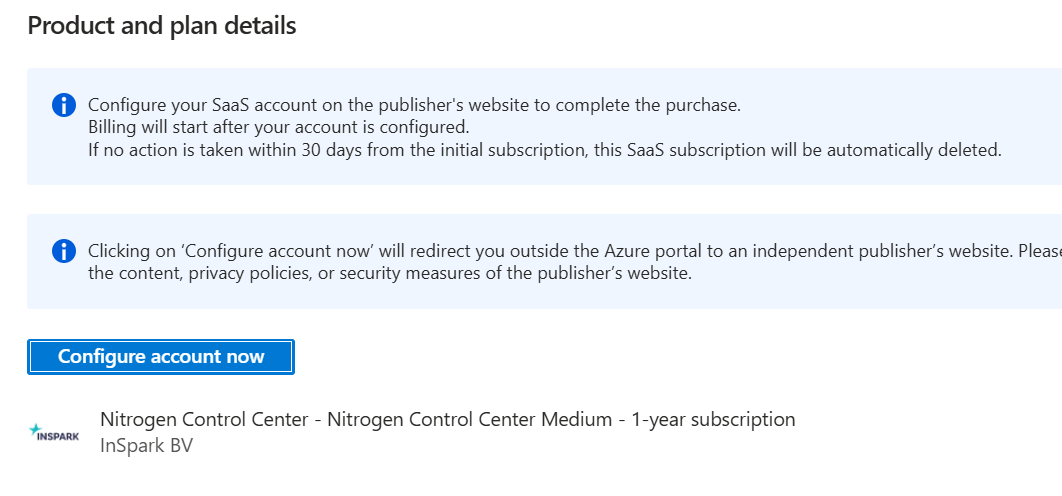
- Provide the required account information.
Step 4: Configure Entra ID for Nitrogen Control Center
- Set up the Groups and Roles in Entra ID.
Step 5: Activate your subscription
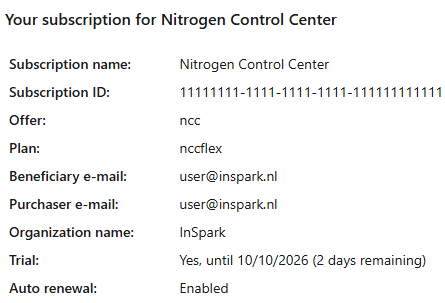
- After activation, billing starts automatically unless the plan includes a free trial; for trial subscriptions with auto renewal enabled, billing starts when the trial ends.
Important
To activate the subscription, you must complete Assign roles.
Trial subscriptions
If you enrolled in a free trial of the Pay as you Go plan, what happens when the trial ends depends on auto renewal:
- Auto renew enabled: once the trial ends, your subscription automatically converts to the paid plan and billing starts. No further action is required, and there is no interruption to the service.
- Auto renew disabled: once the trial ends, the subscription is not converted to the paid plan and the service stops working. Nitrogen reminds you before the trial ends, so you can enable auto renewal or upgrade to the paid plan to keep using the service.
Tip
You can change auto renewal or upgrade to the paid plan at any time from the Azure portal: select the subscription for your solution, then choose Edit Auto-renew or Upgrade to paid.
Next step: Enrollment
After meeting these requirements, follow the guided steps on the Enrollment page to complete your NCC deployment.