Skip to content

XDR Workspace Setup Steps

Navigate to security.microsoft.com and click on Settings in the bottom-left corner.
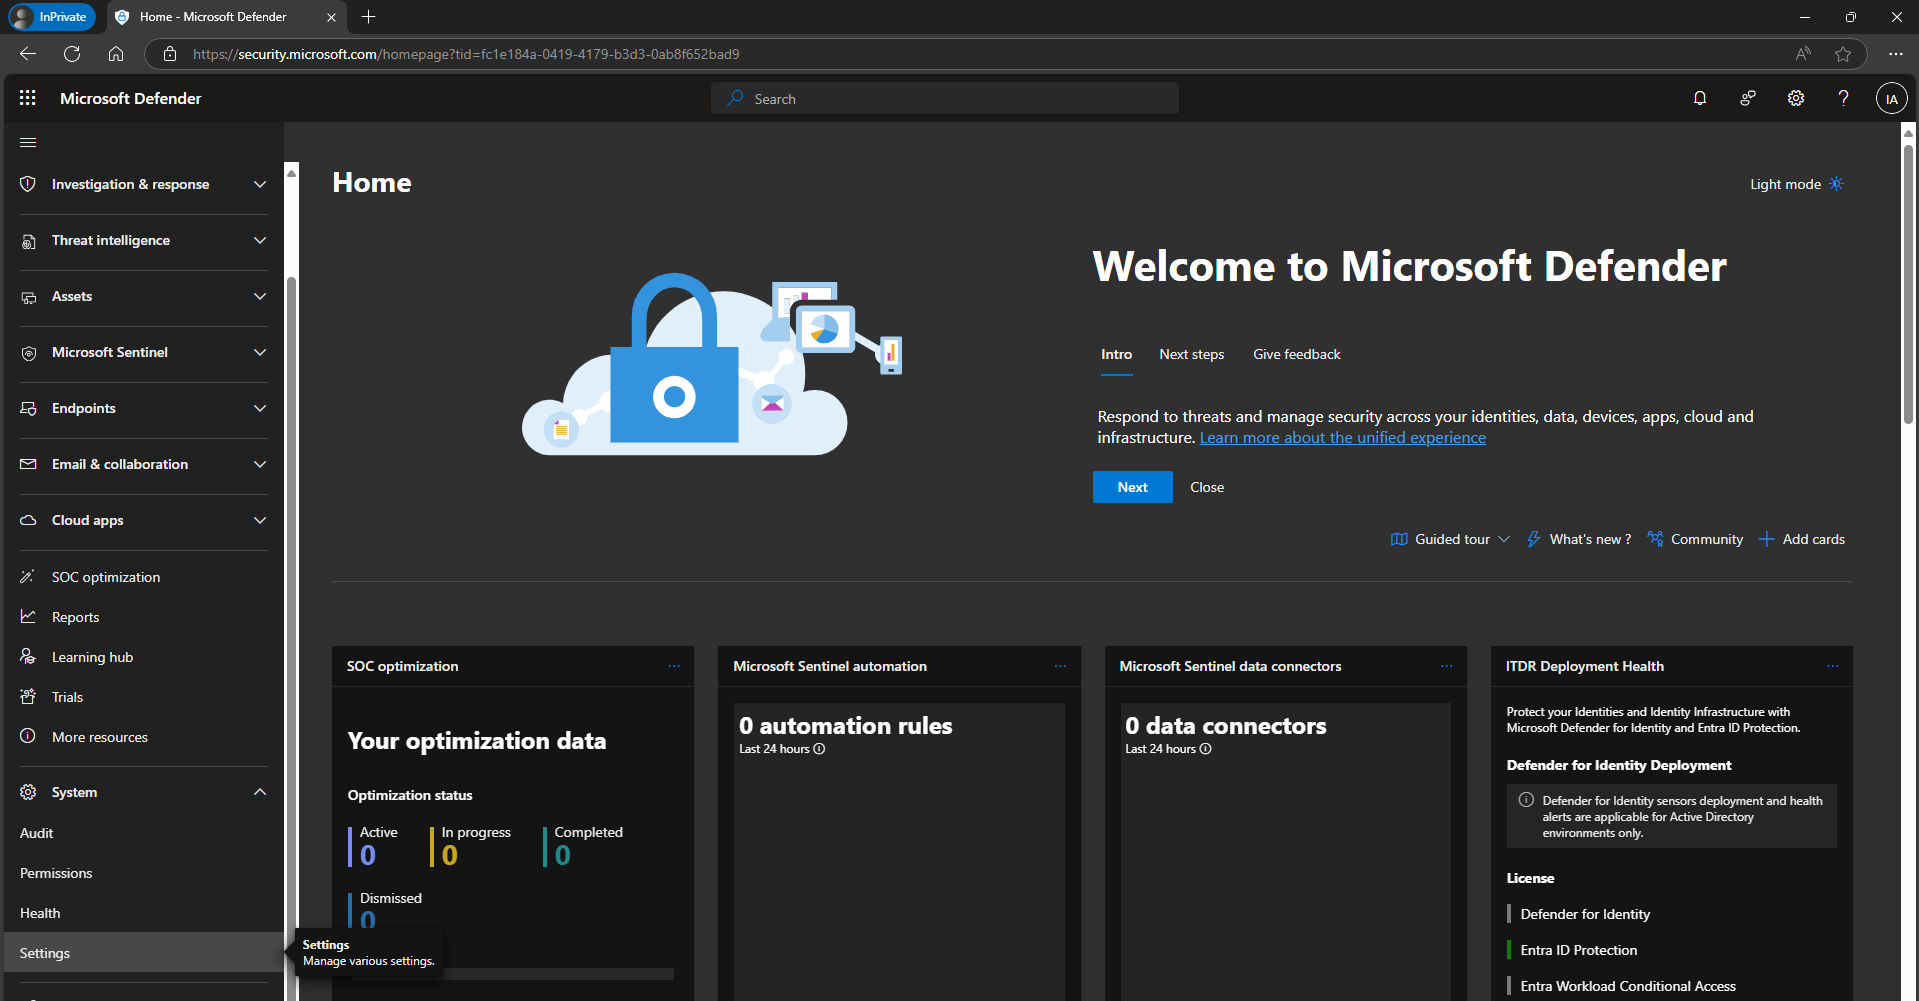
Microsoft Defender home page with the Settings option highlighted in the bottom-left navigation

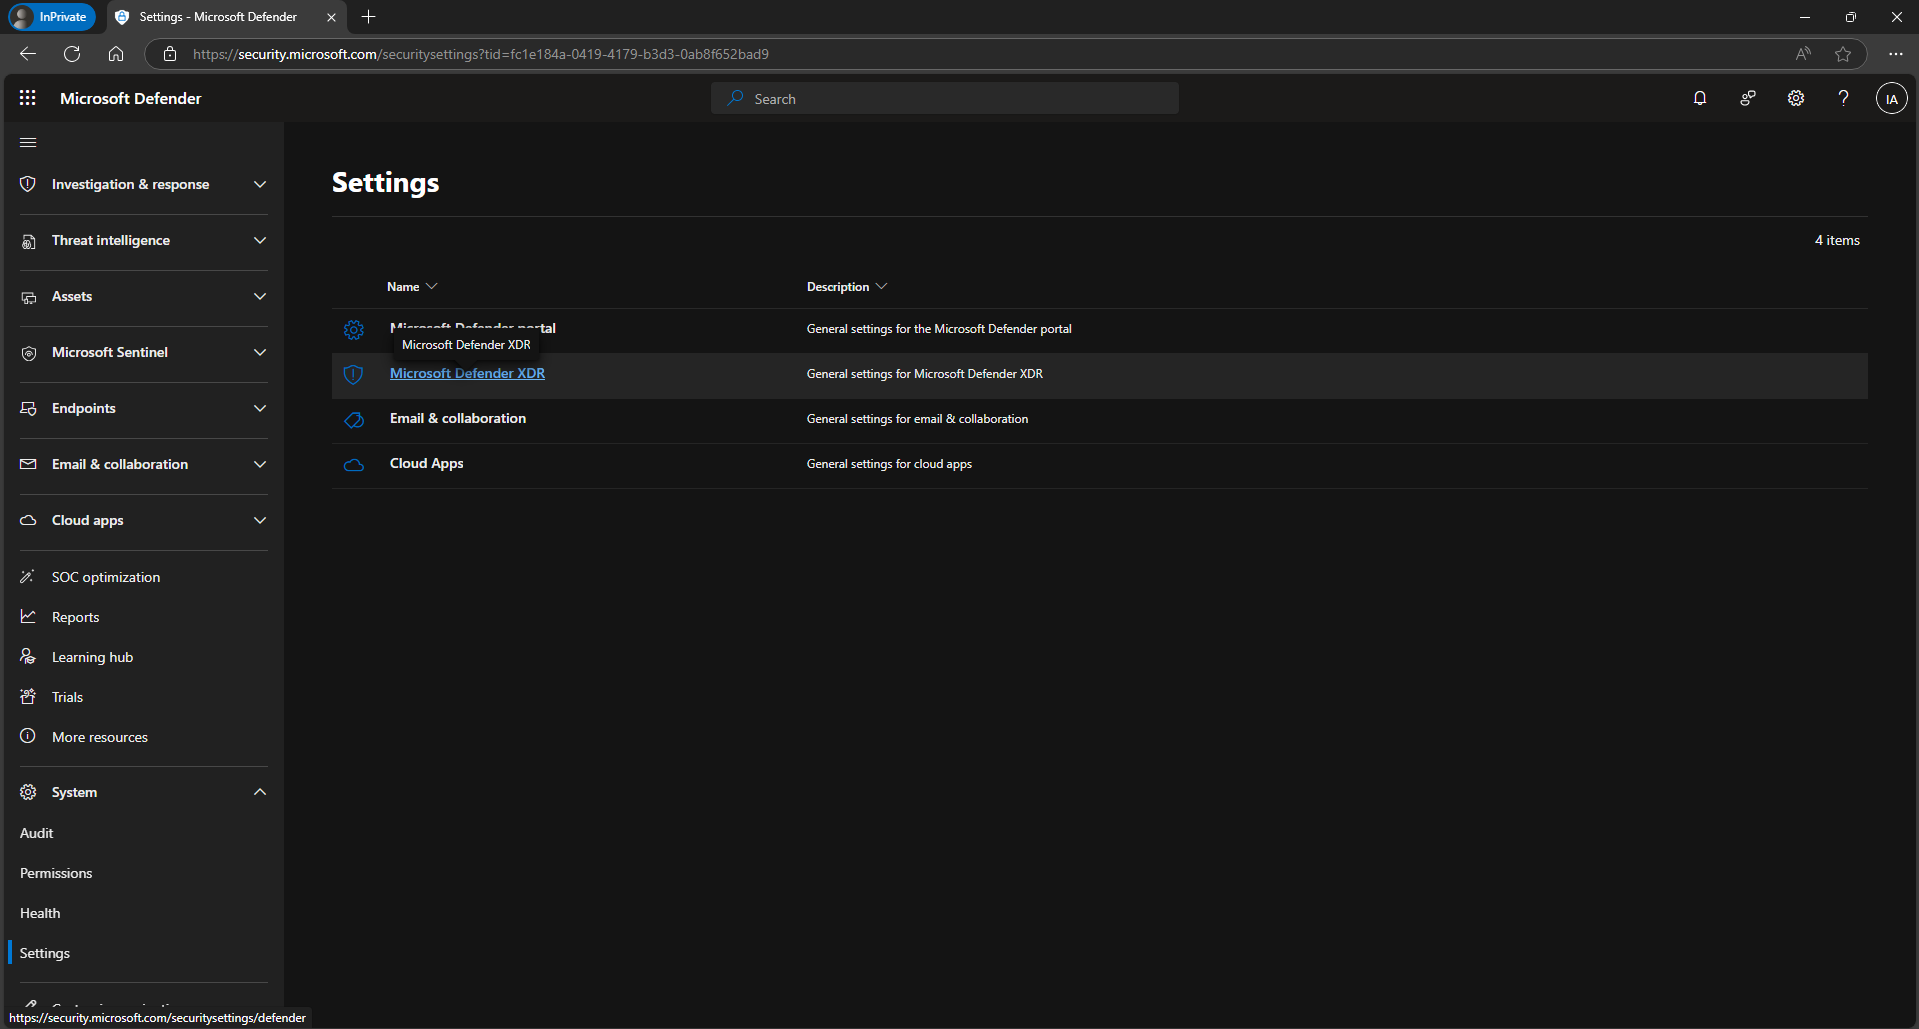
Click on Microsoft Defender XDR.

Settings page listing Microsoft Defender XDR among the available settings categories

If the message "Failed to load data storage location." appears, this means the XDR workspace has not been created yet.
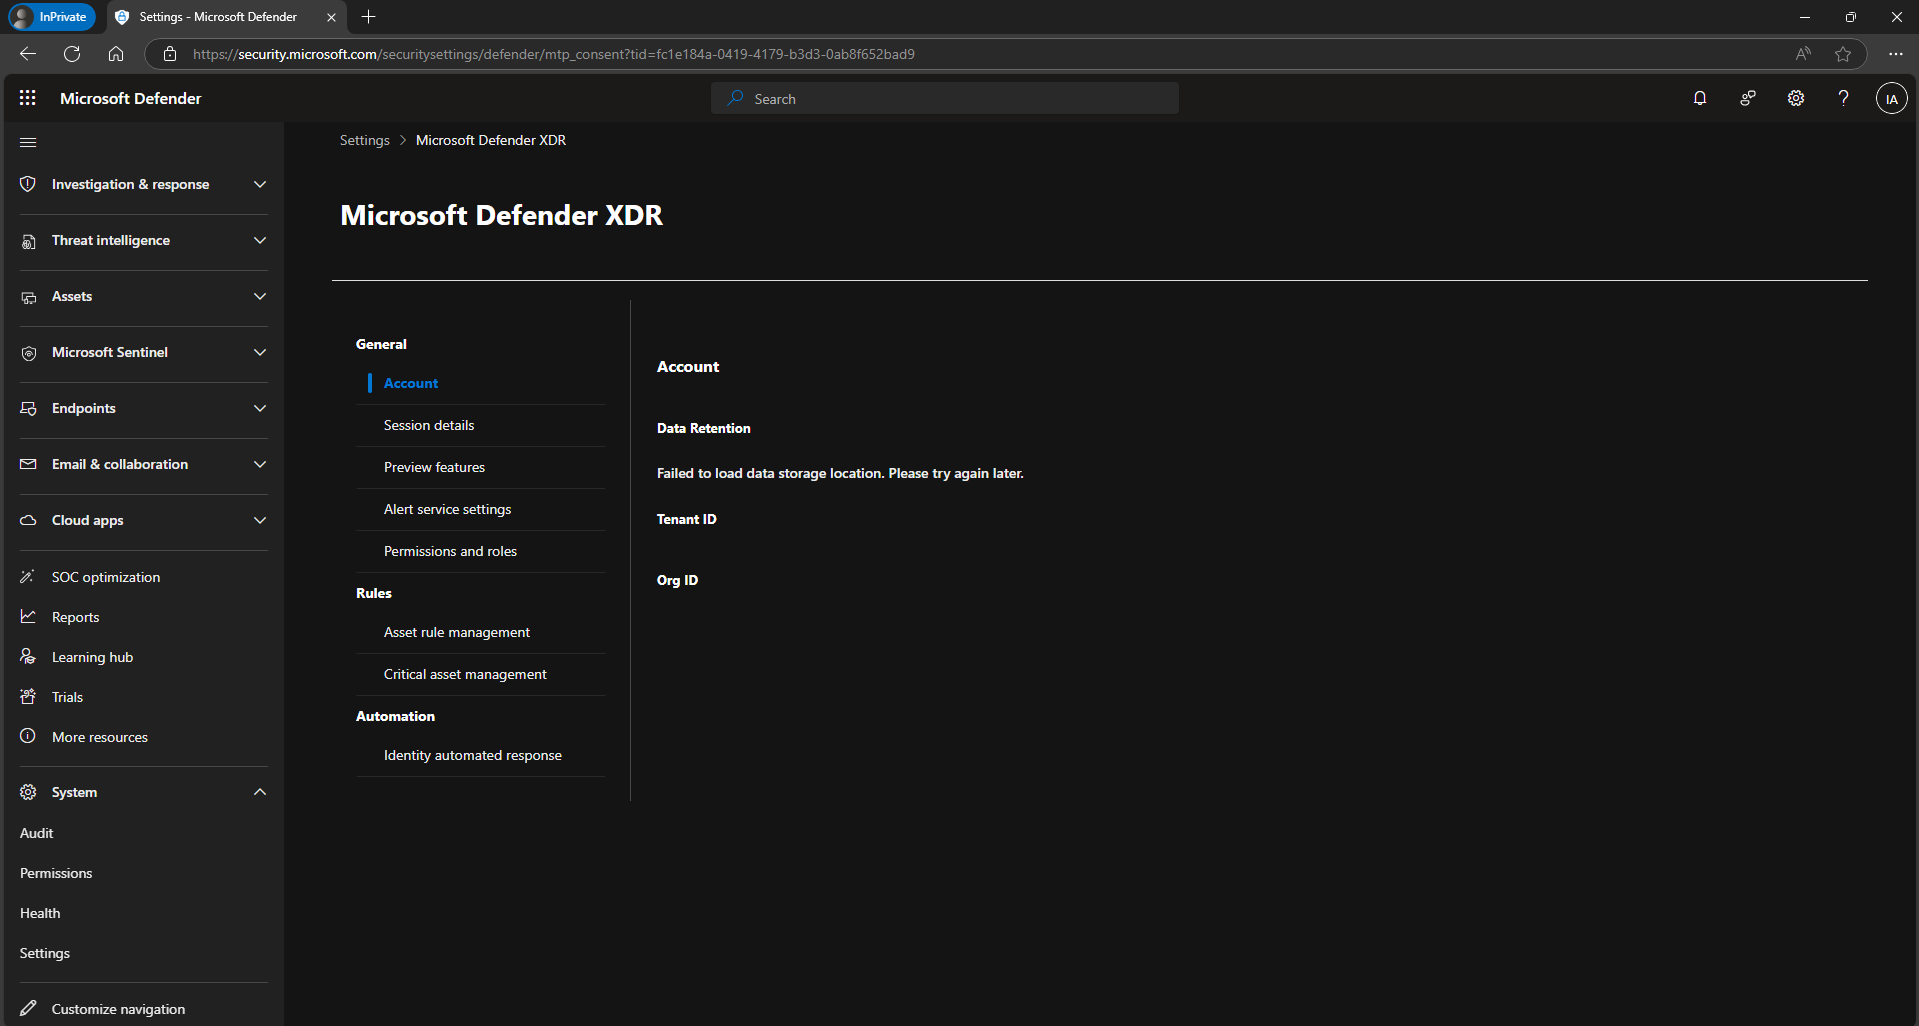
Microsoft Defender XDR account settings page showing the "Failed to load data storage location" error under Data Retention

Navigate back to Home and then click on the Manage connectors button.
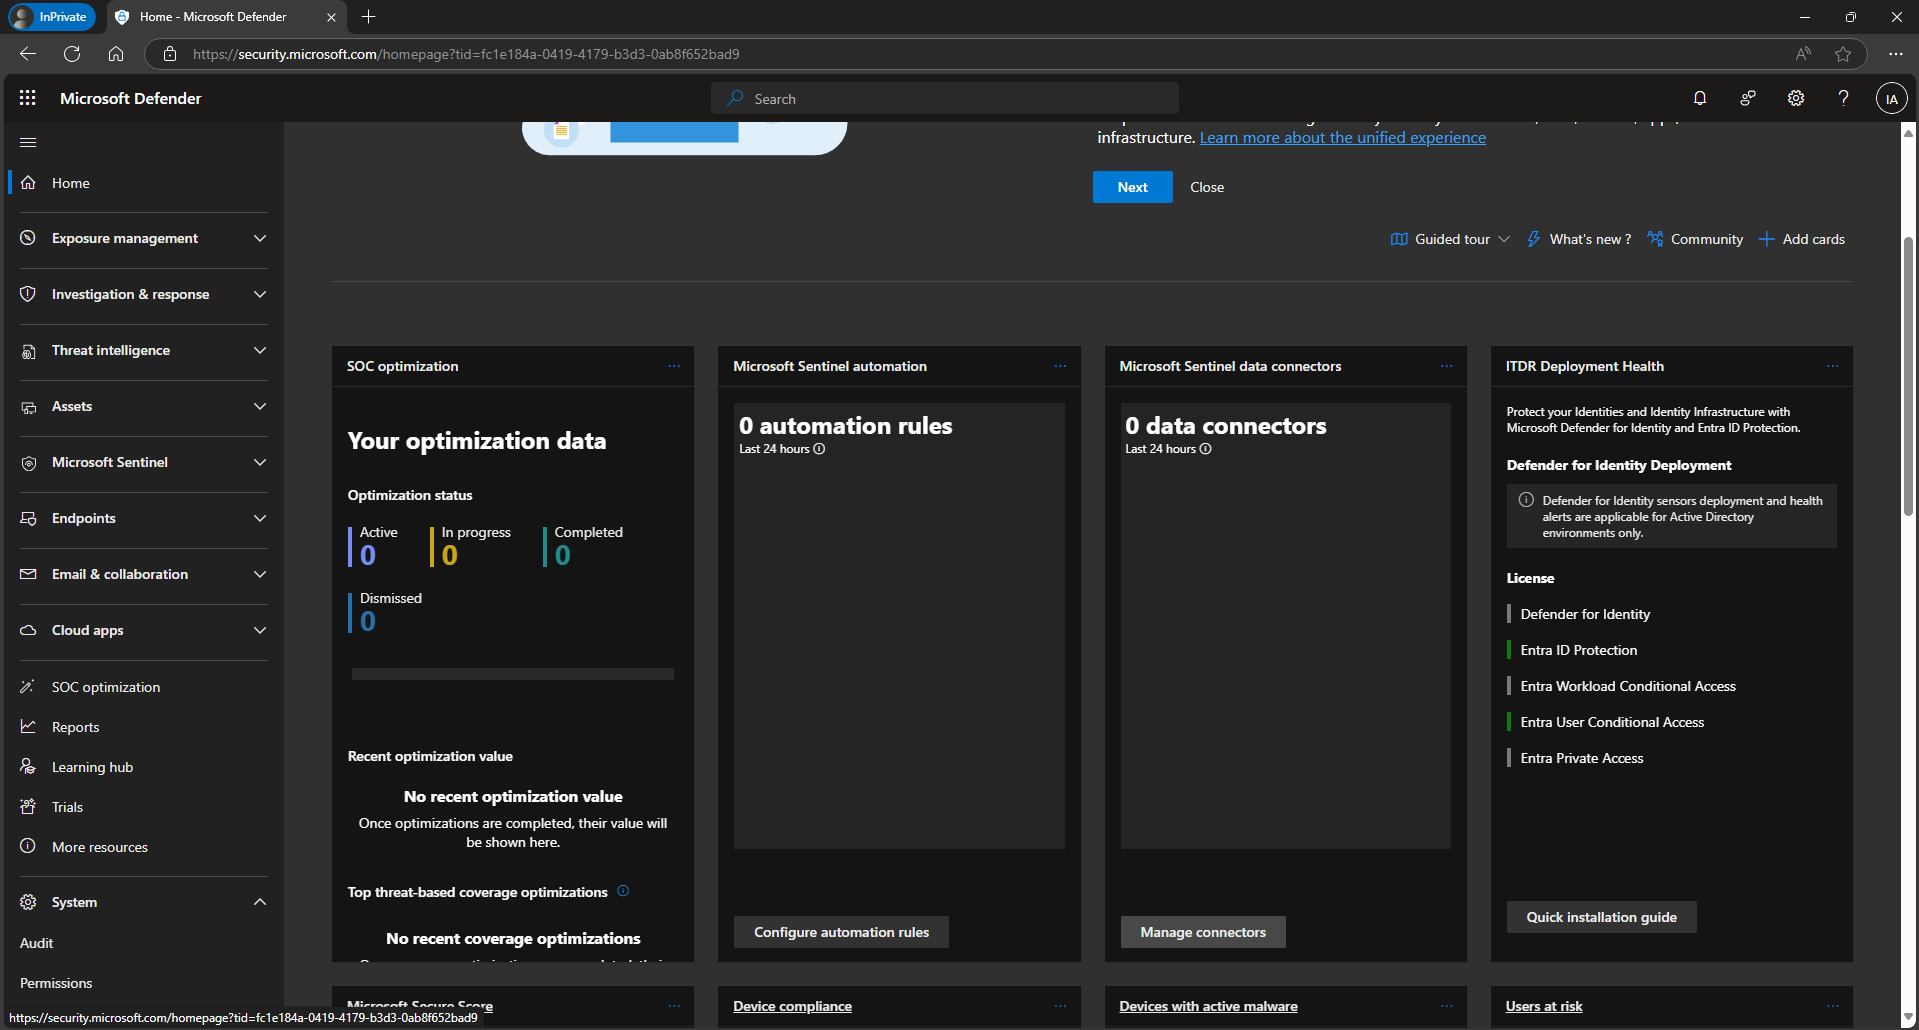
Microsoft Defender home page with the Manage connectors button under Microsoft Sentinel data connectors

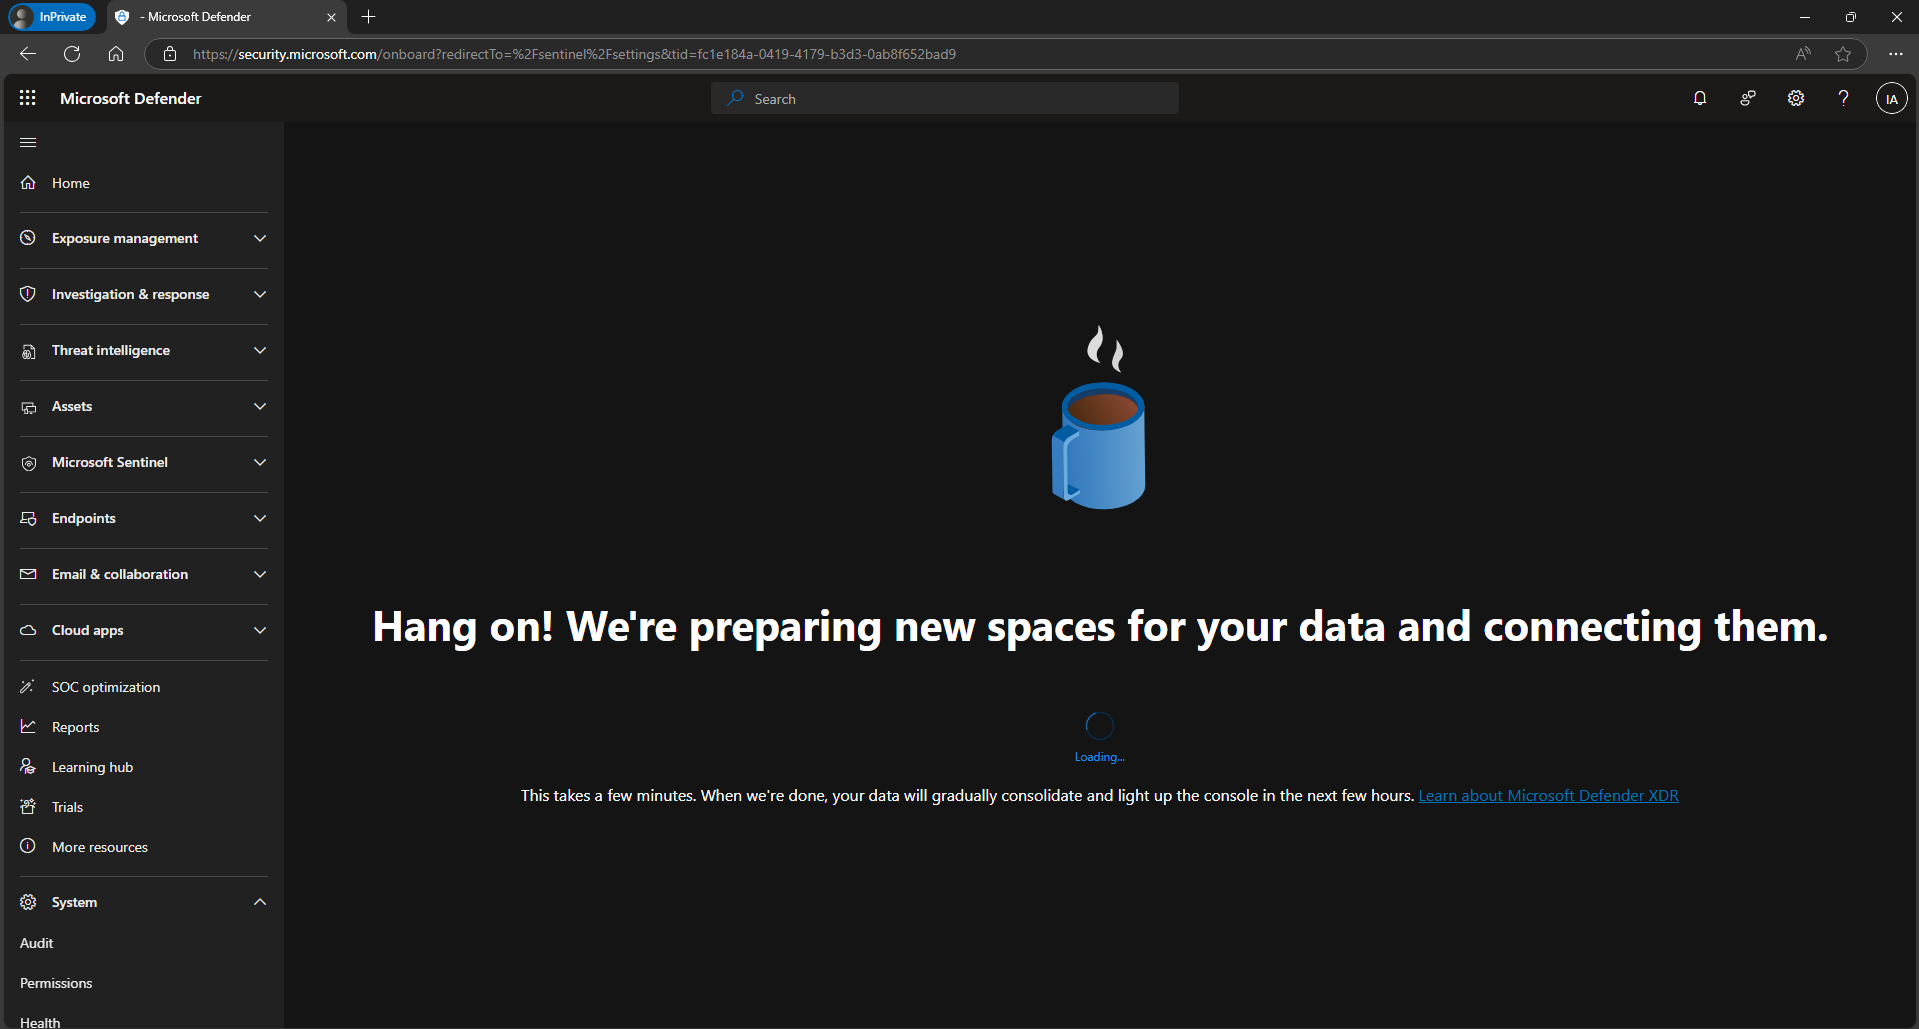
This screen will then appear.

"Hang on! We're preparing new spaces for your data and connecting them" loading screen

After a few minutes, a wizard will appear that you need to follow. Click on Get started.
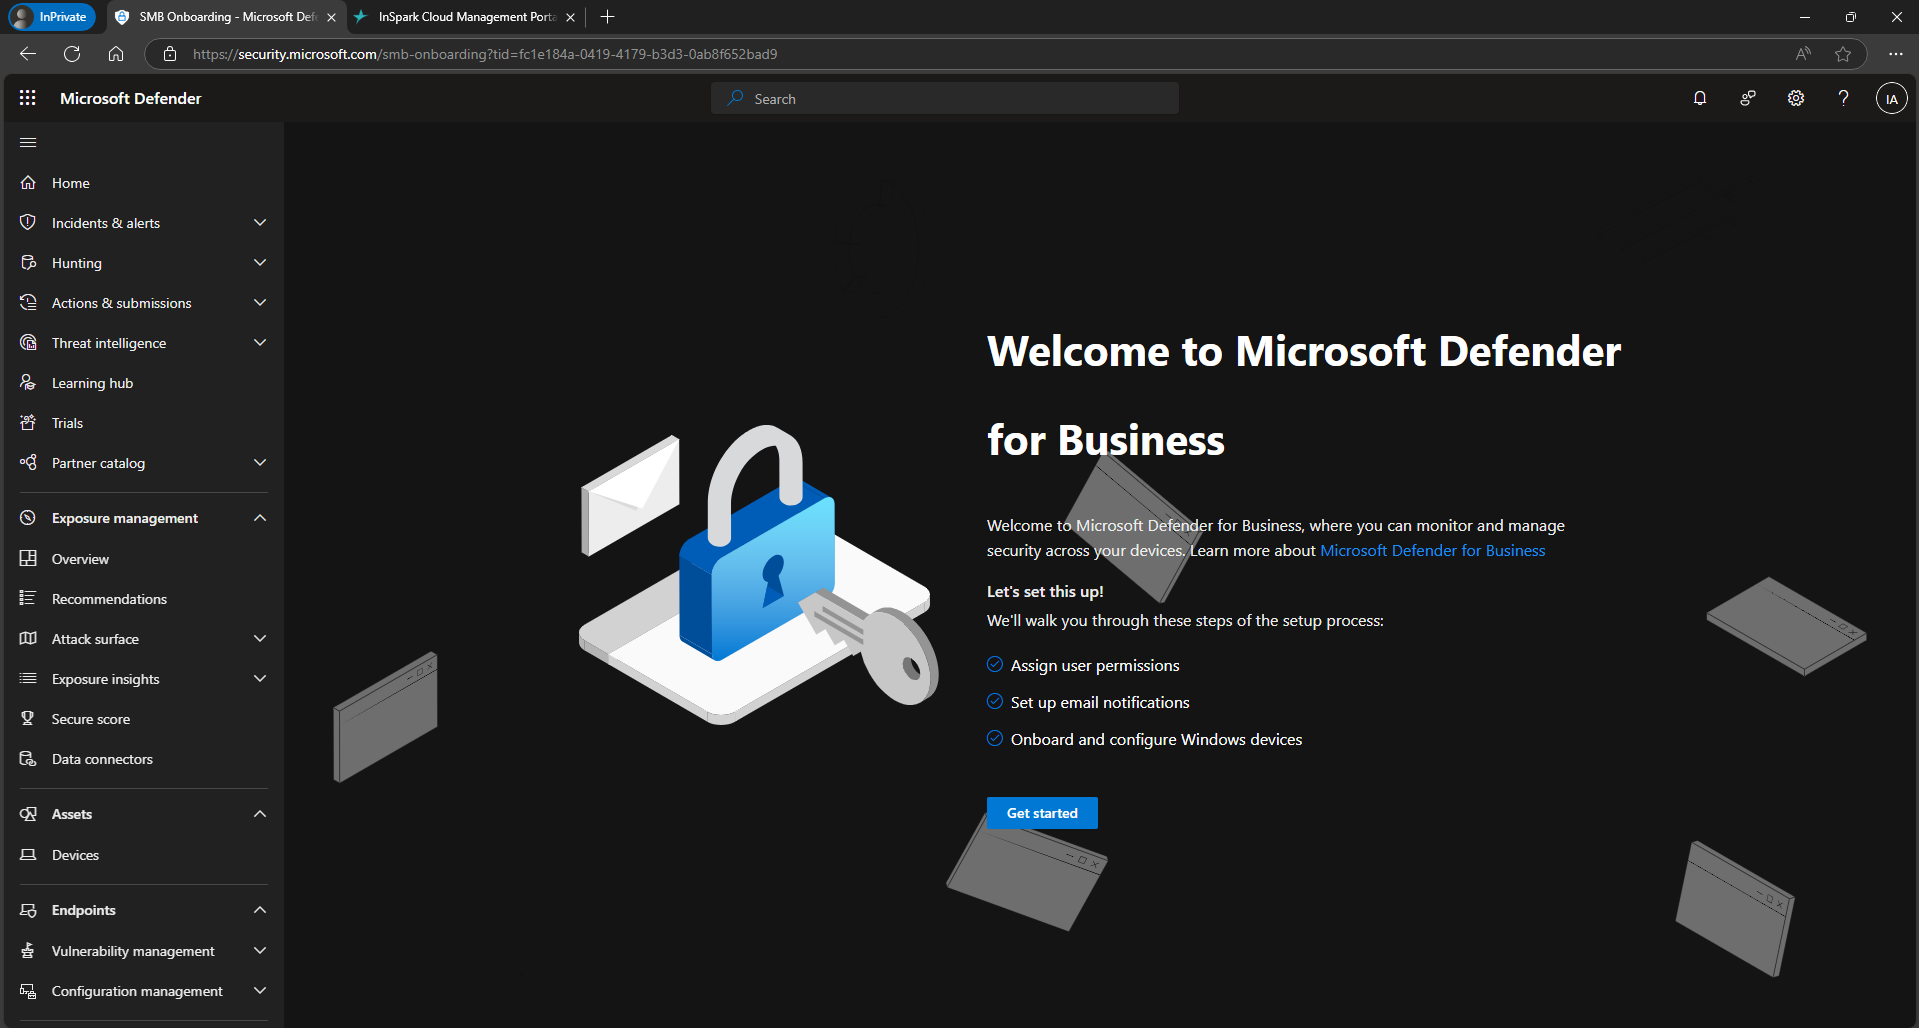
"Welcome to Microsoft Defender for Business" setup wizard with the Get started button

In the bottom-right corner, you can click on Skip.
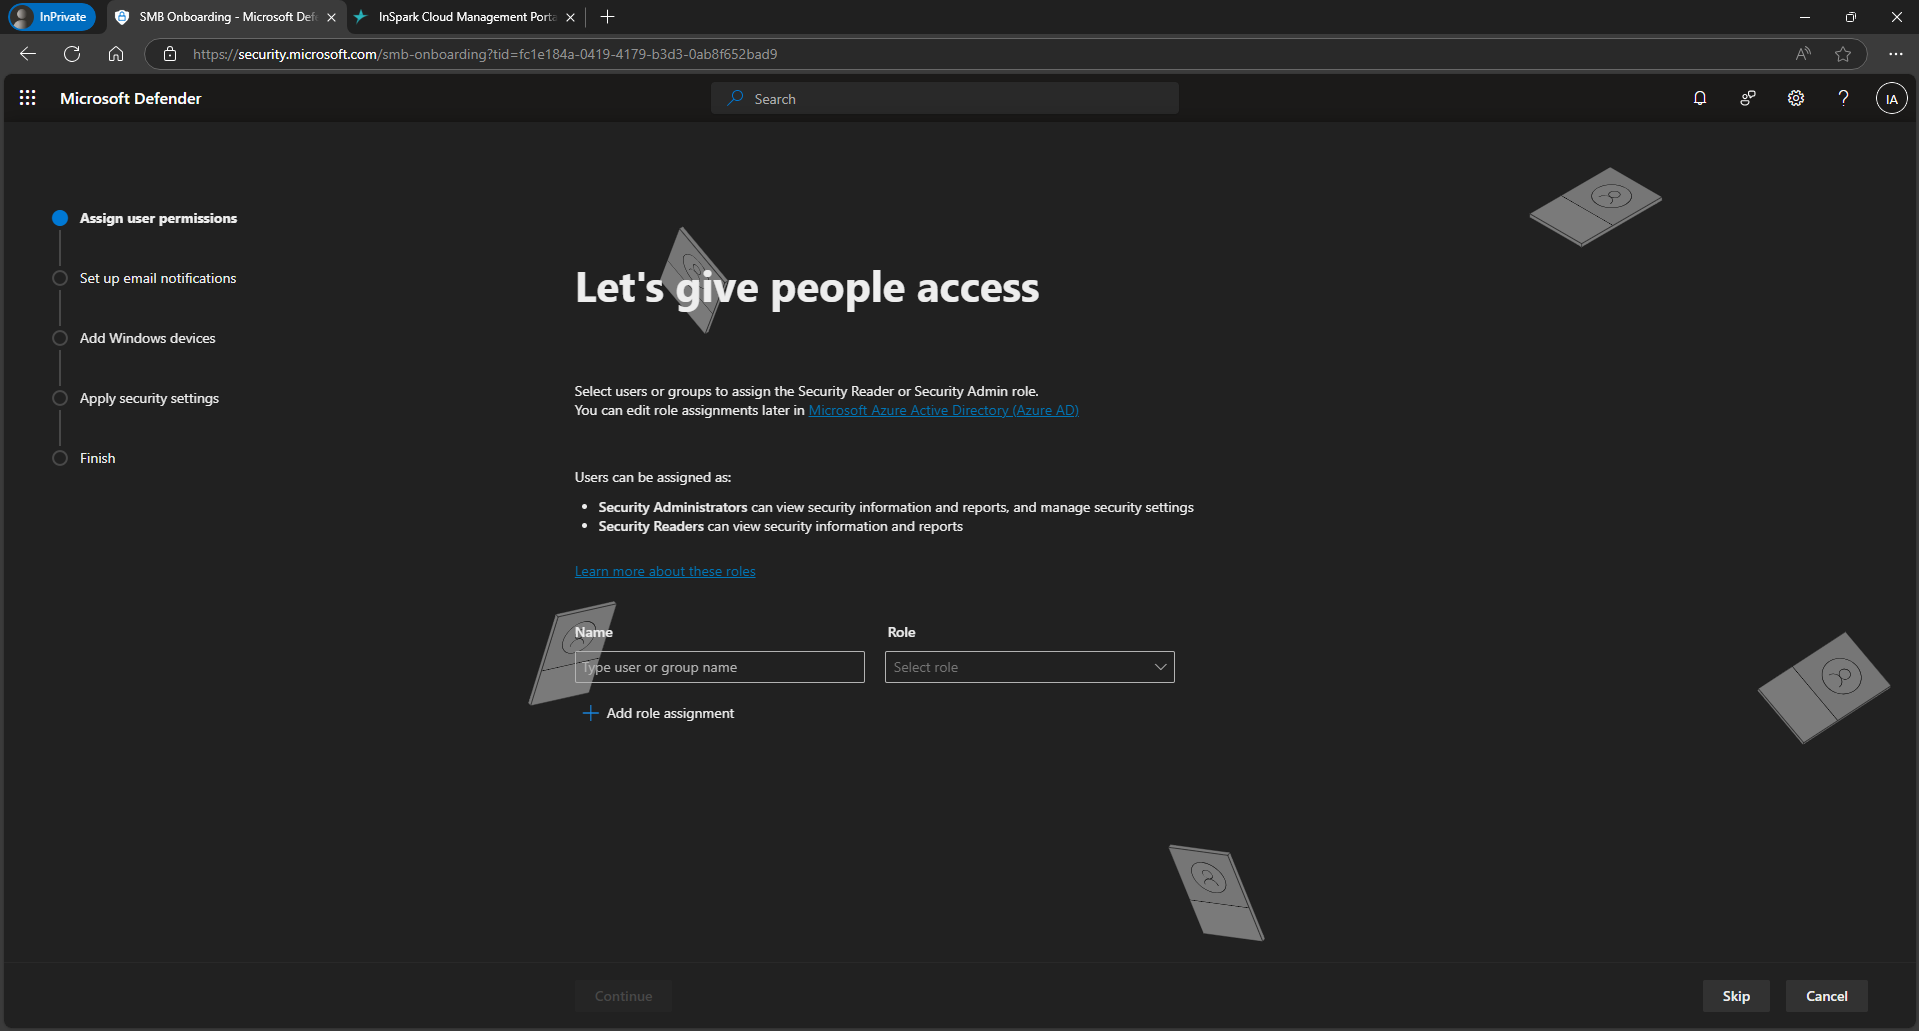
"Let's give people access" wizard step for assigning user permissions, with the Skip button in the bottom-right corner

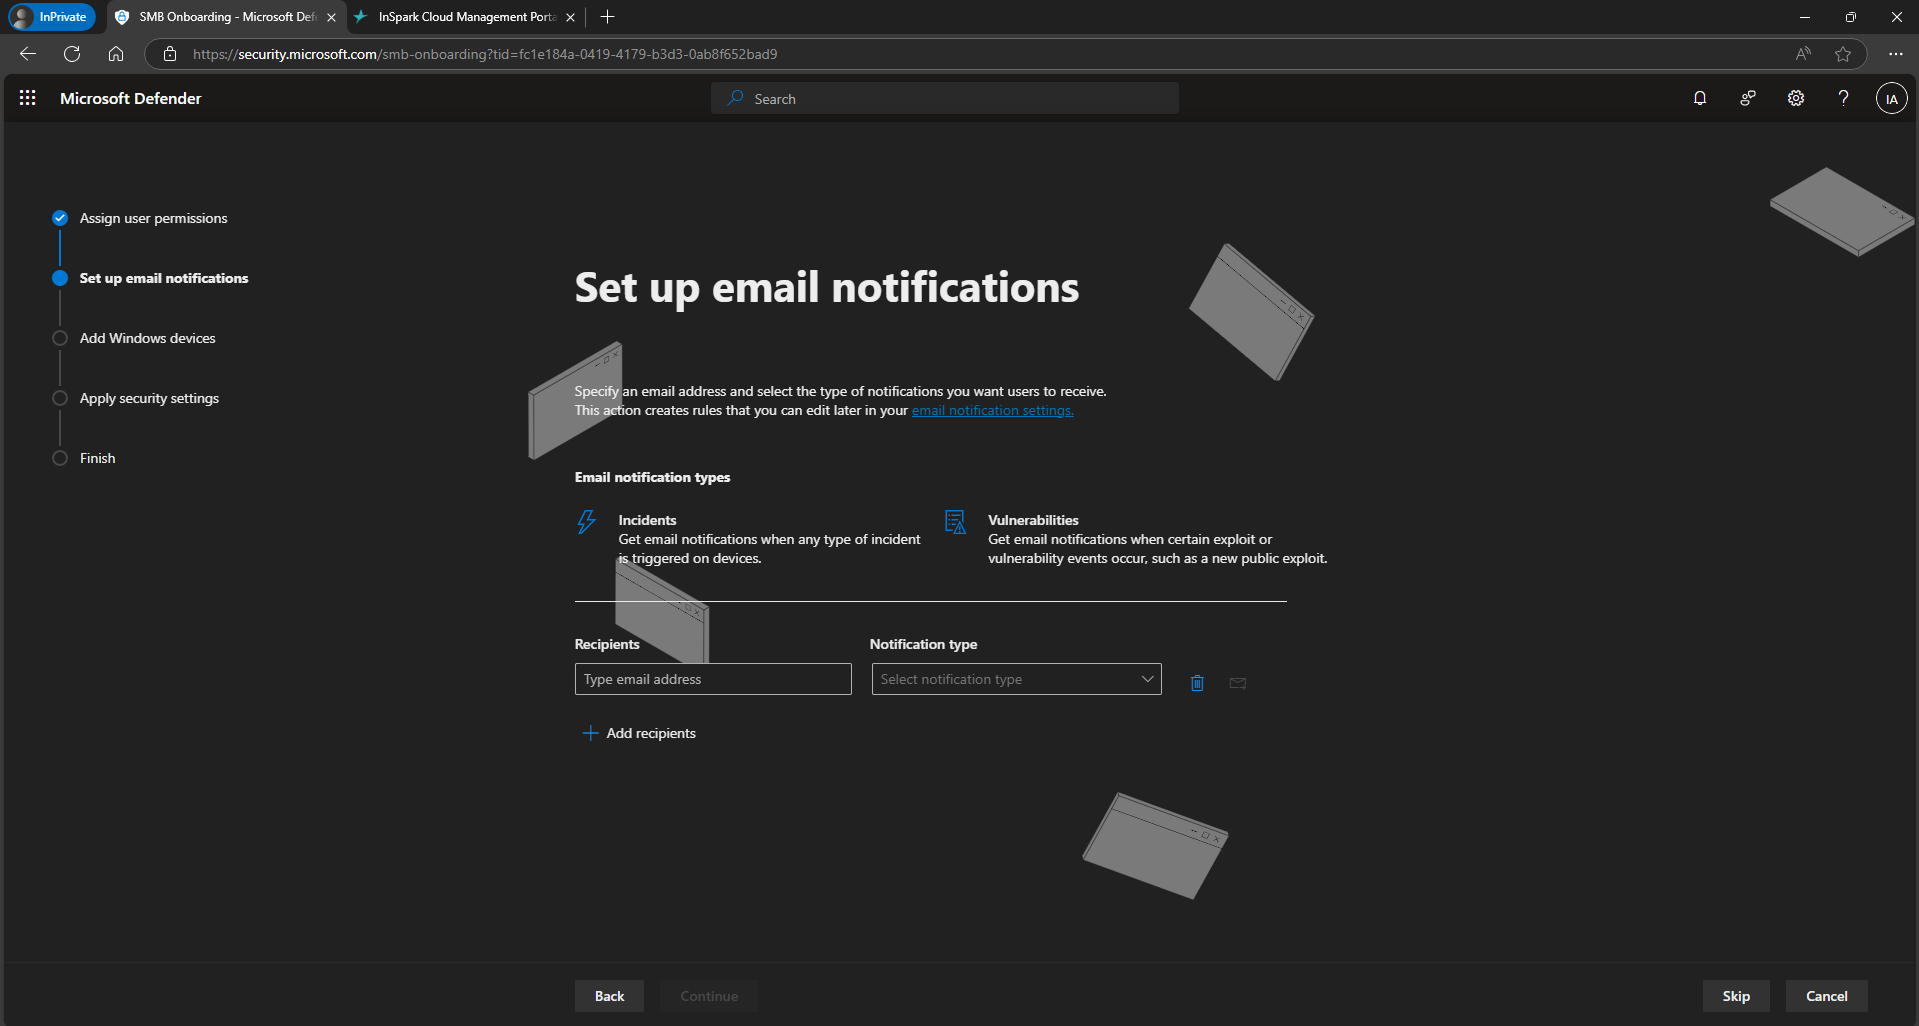
Once again, you can click on Skip.

"Set up email notifications" wizard step with the Skip button

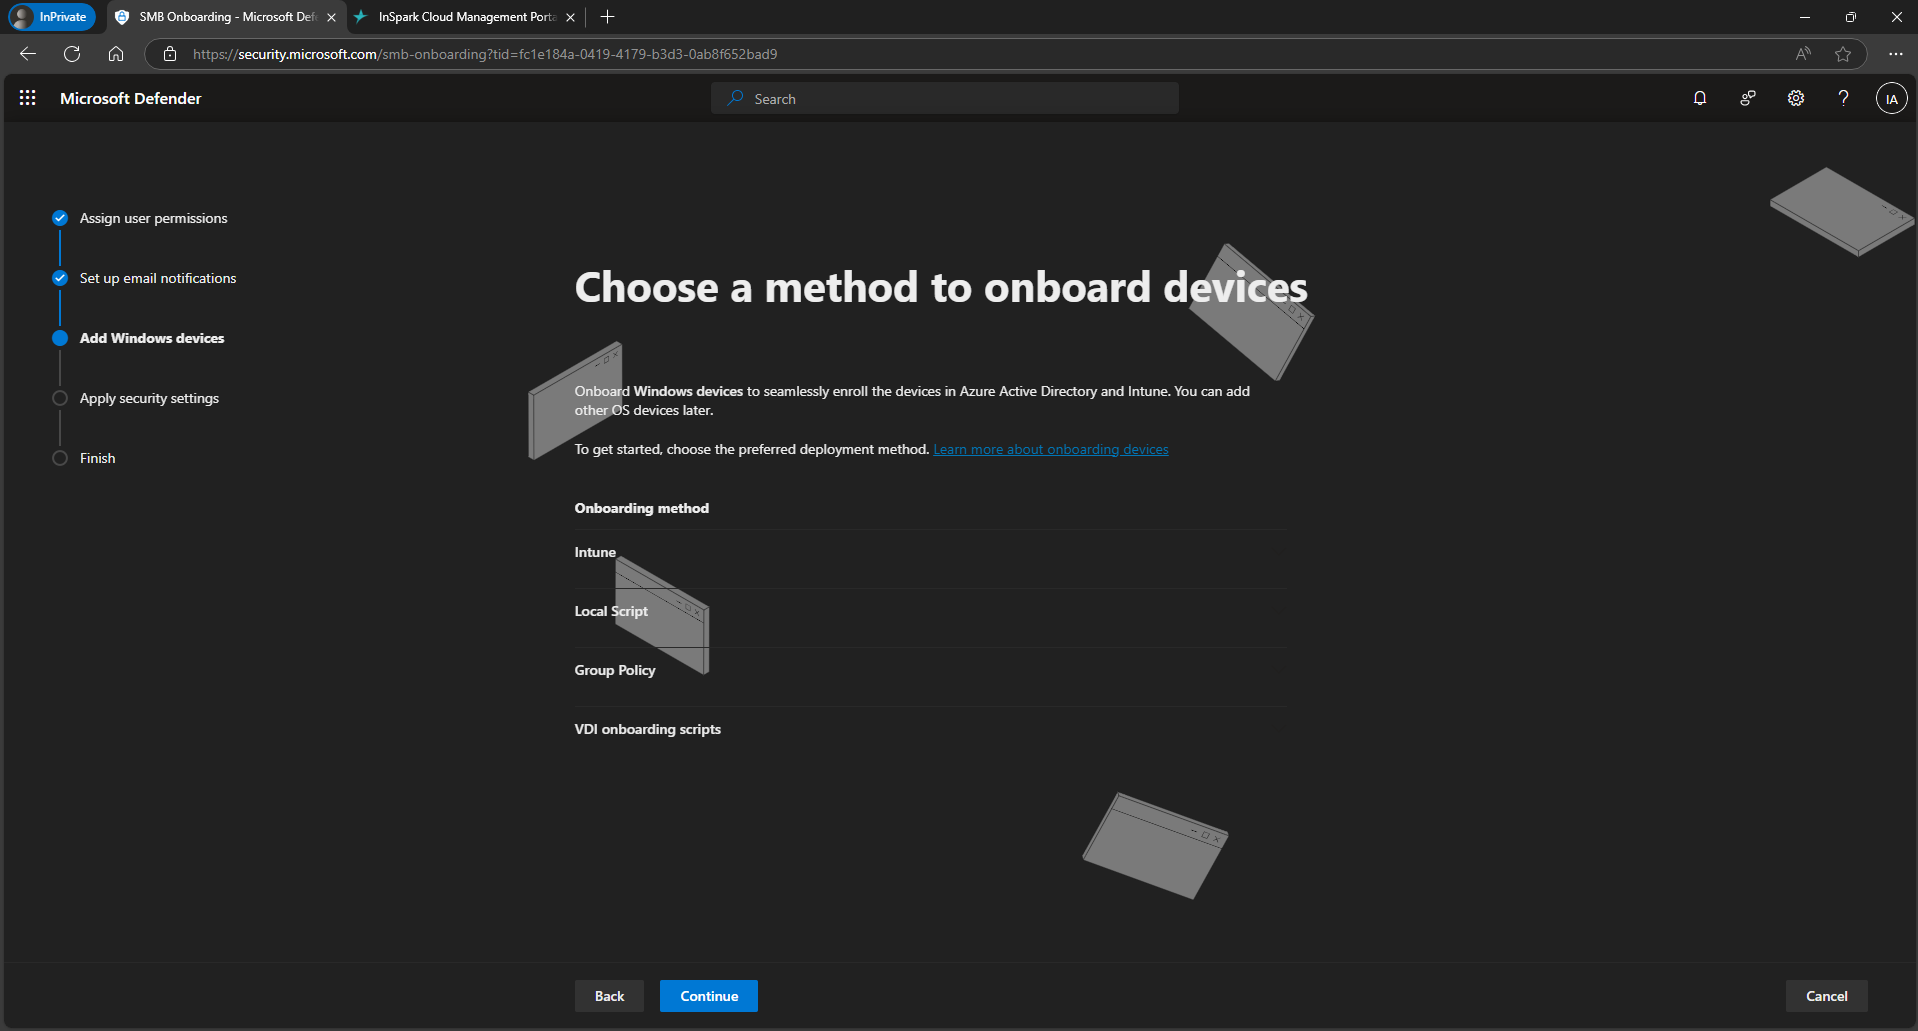
Click Continue to proceed.

"Choose a method to onboard devices" wizard step with the Continue button

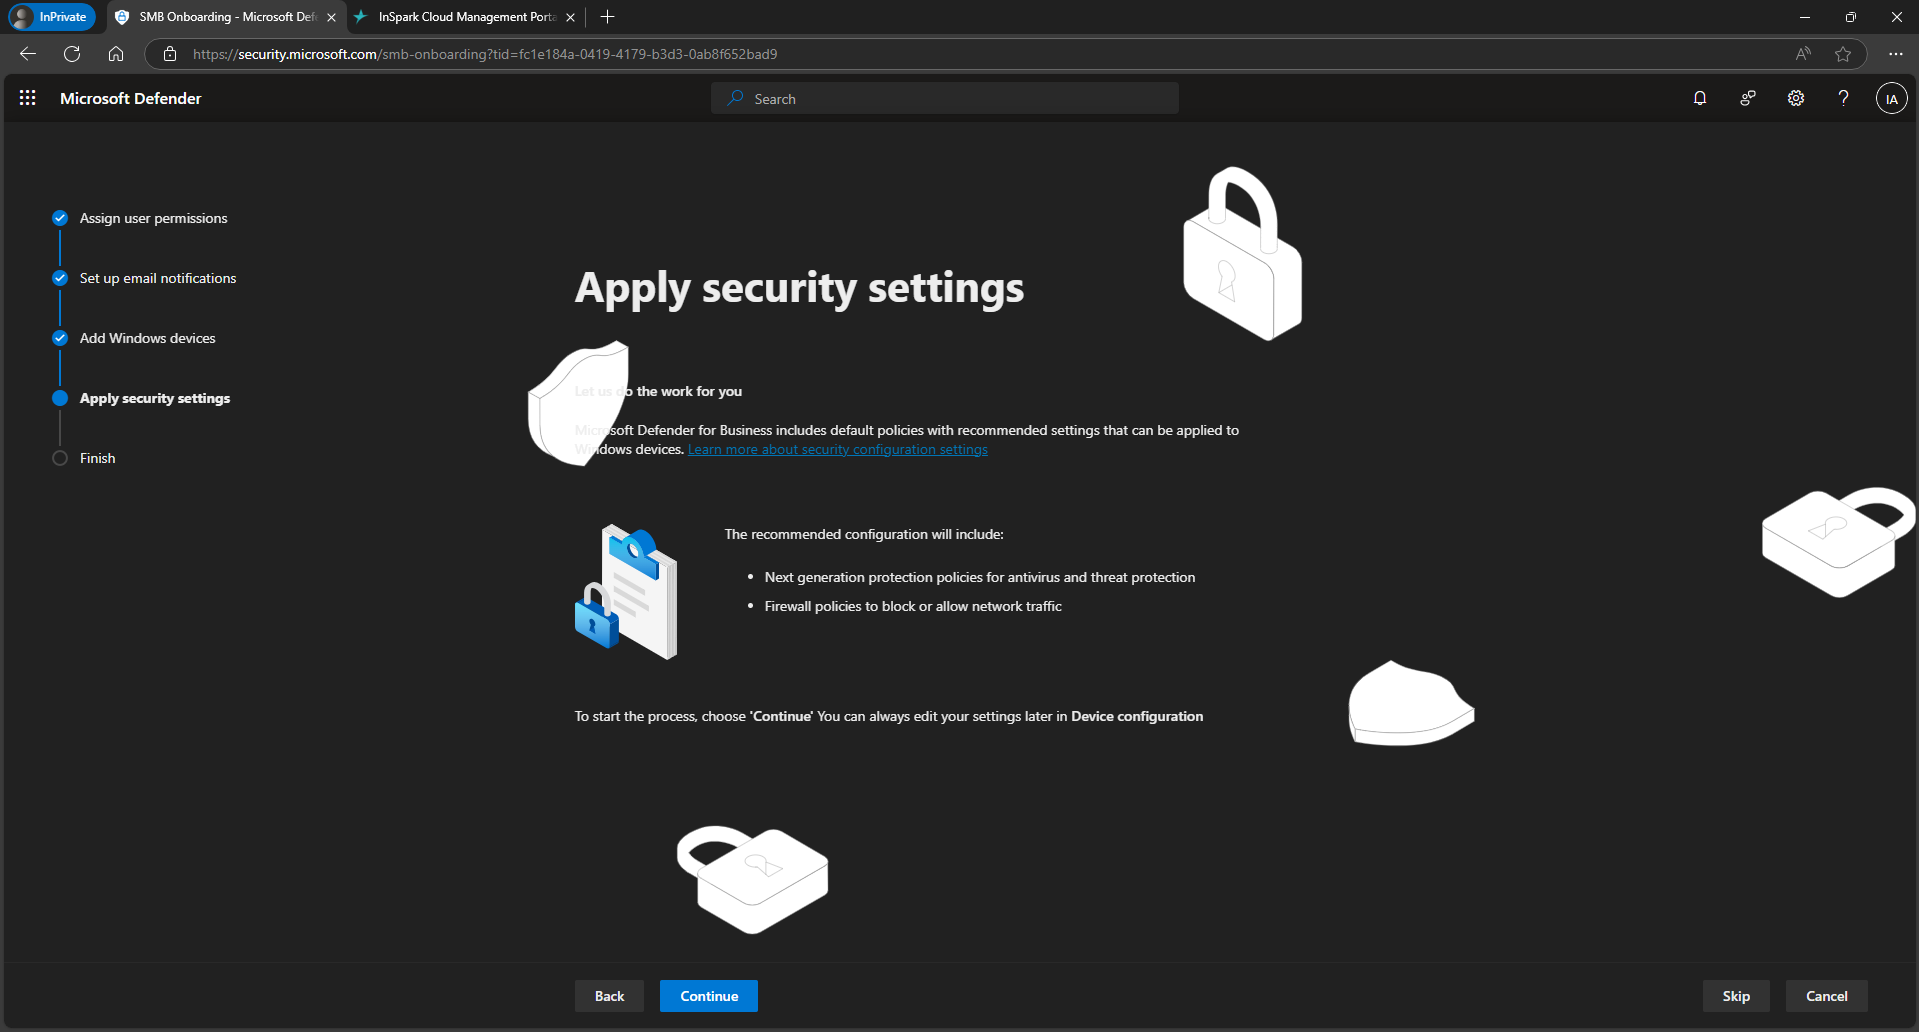
Here, you can click on Skip.

"Apply security settings" wizard step with the Skip button

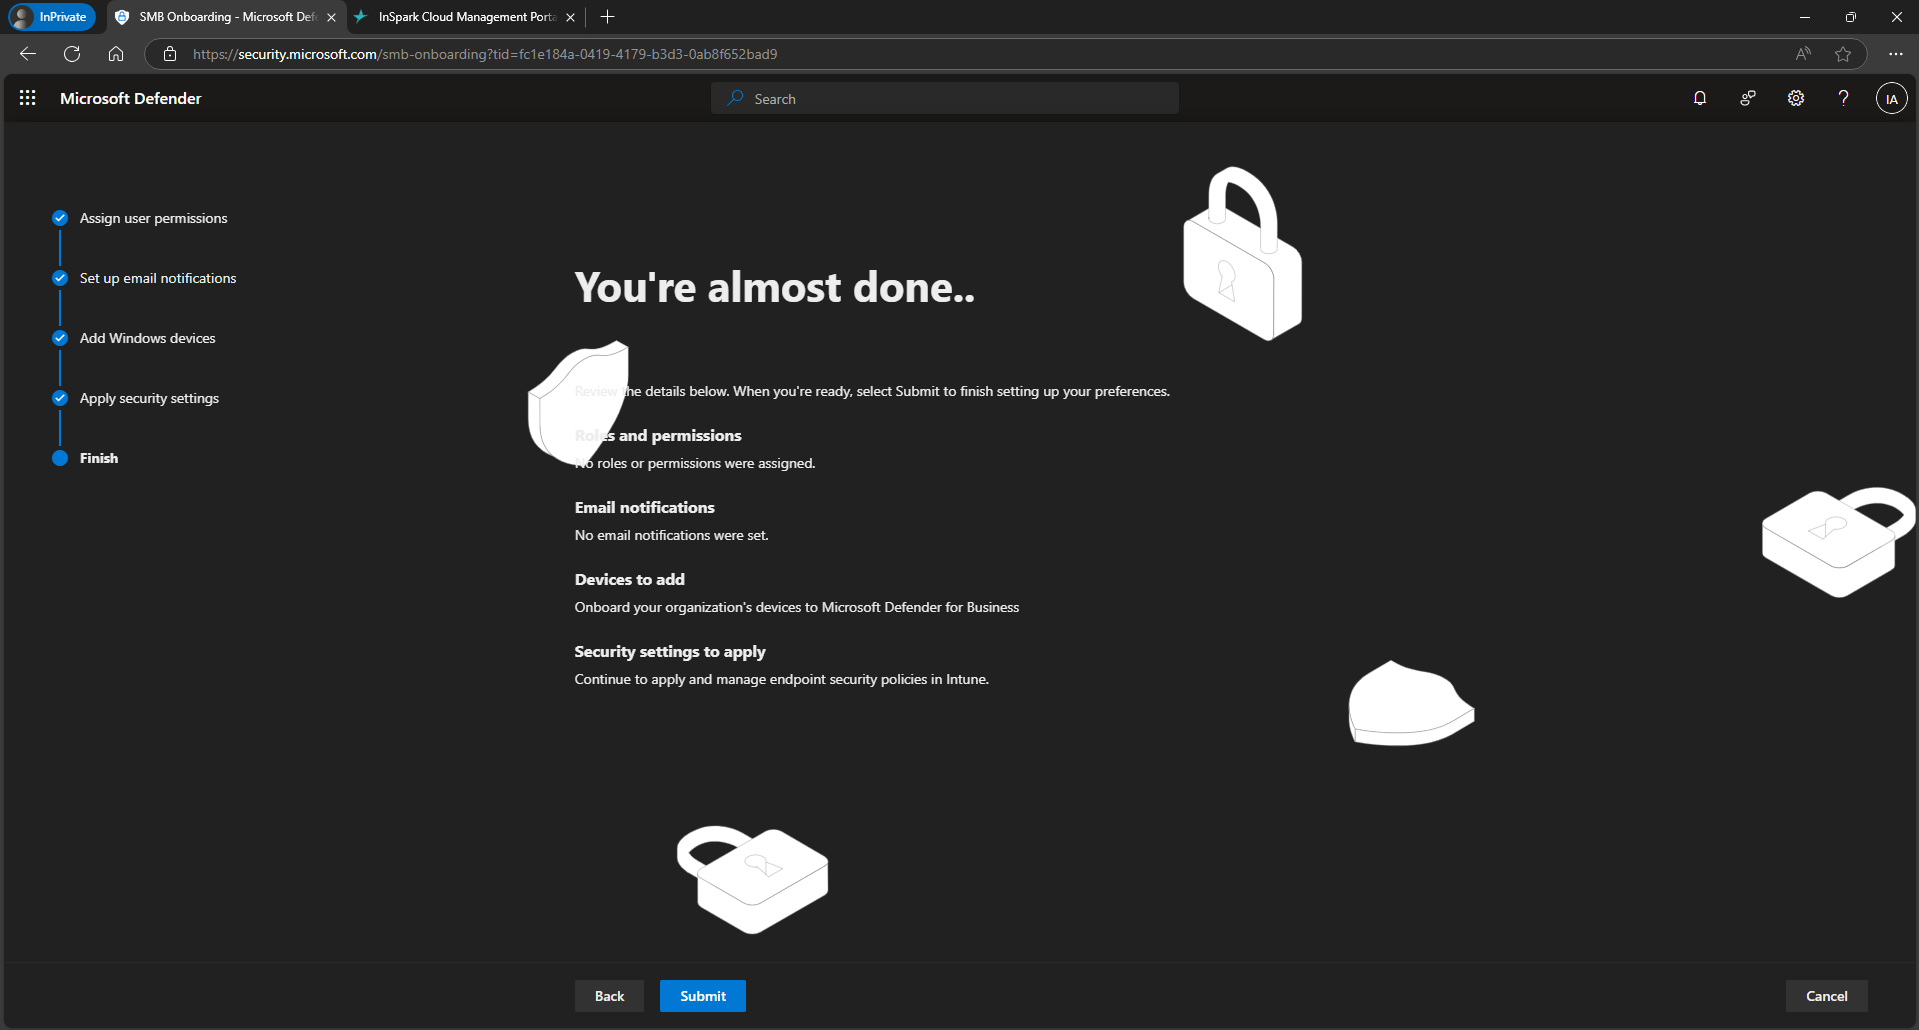
Finally, you can click on Submit.

"You're almost done" review step summarizing the wizard choices, with the Submit button

Click on Done to complete the process.
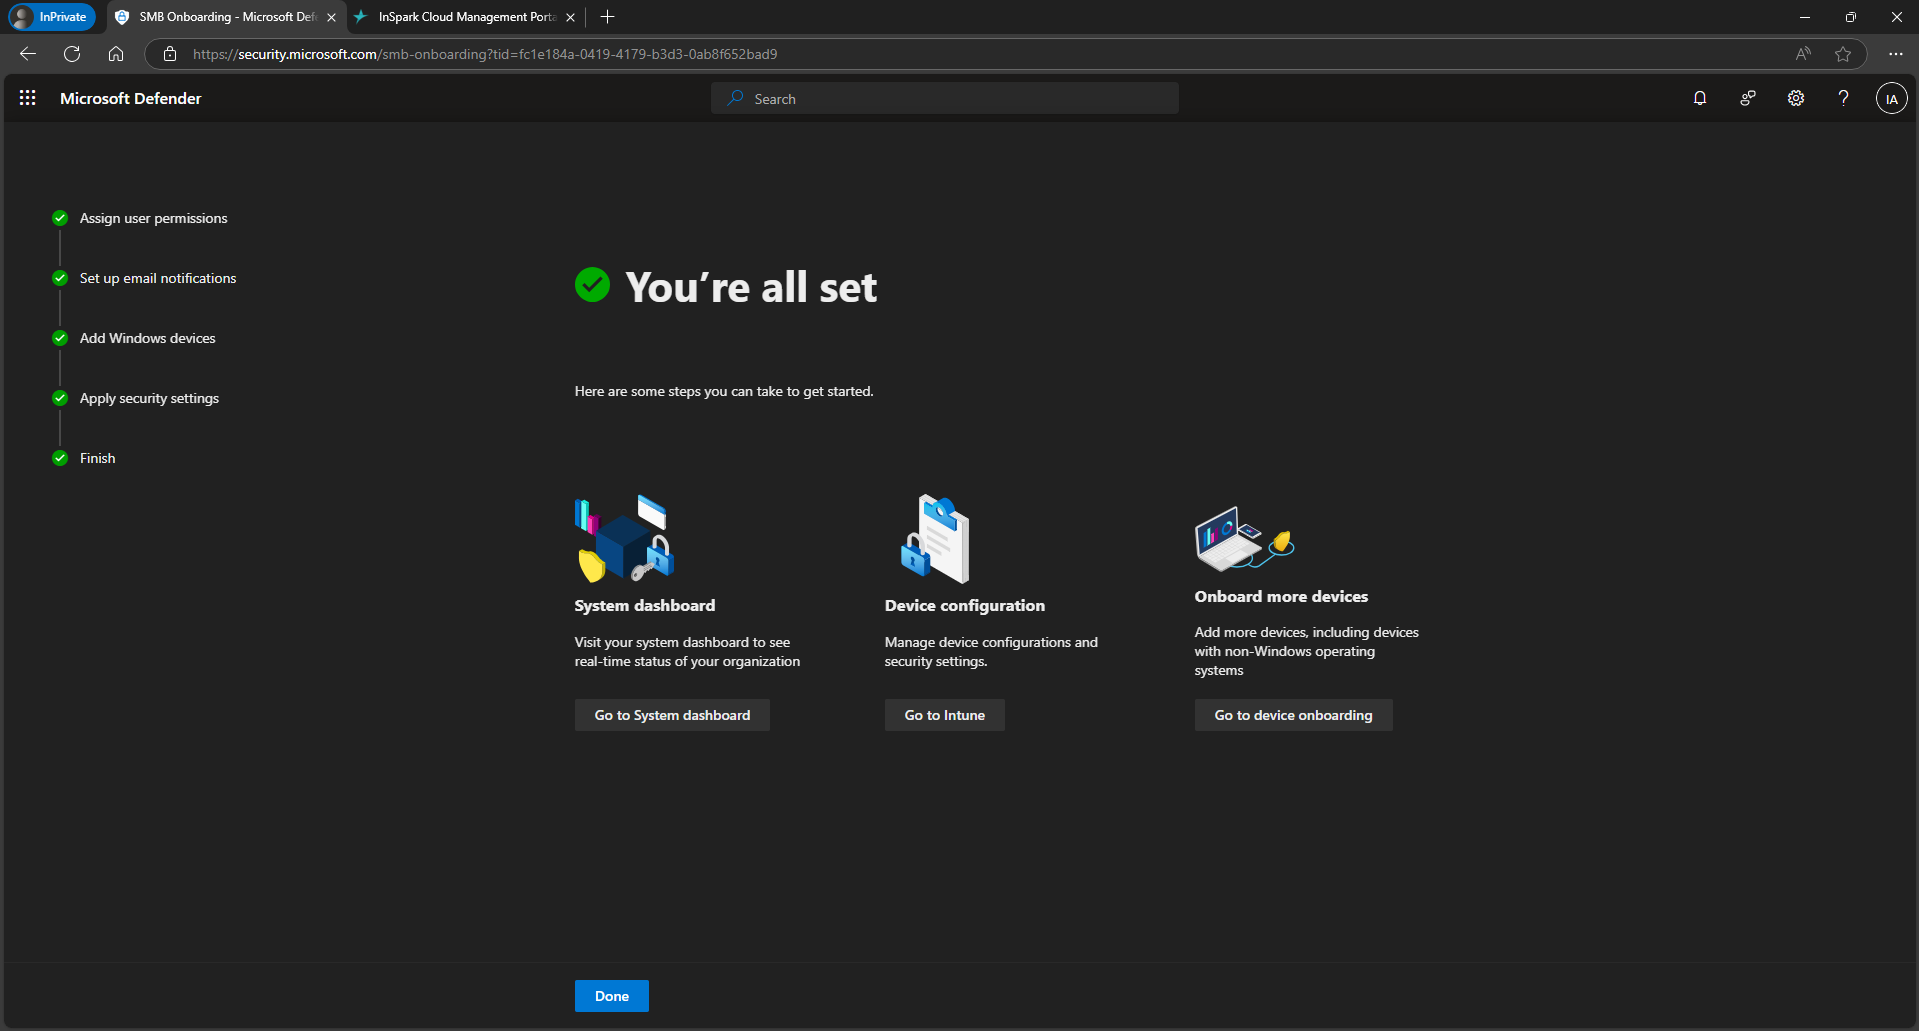
"You're all set" completion screen with the Done button

If you are not automatically redirected to security.microsoft.com, you can manually navigate back to it.

Click on Settings in the bottom-left corner and then on Microsoft Defender XDR.
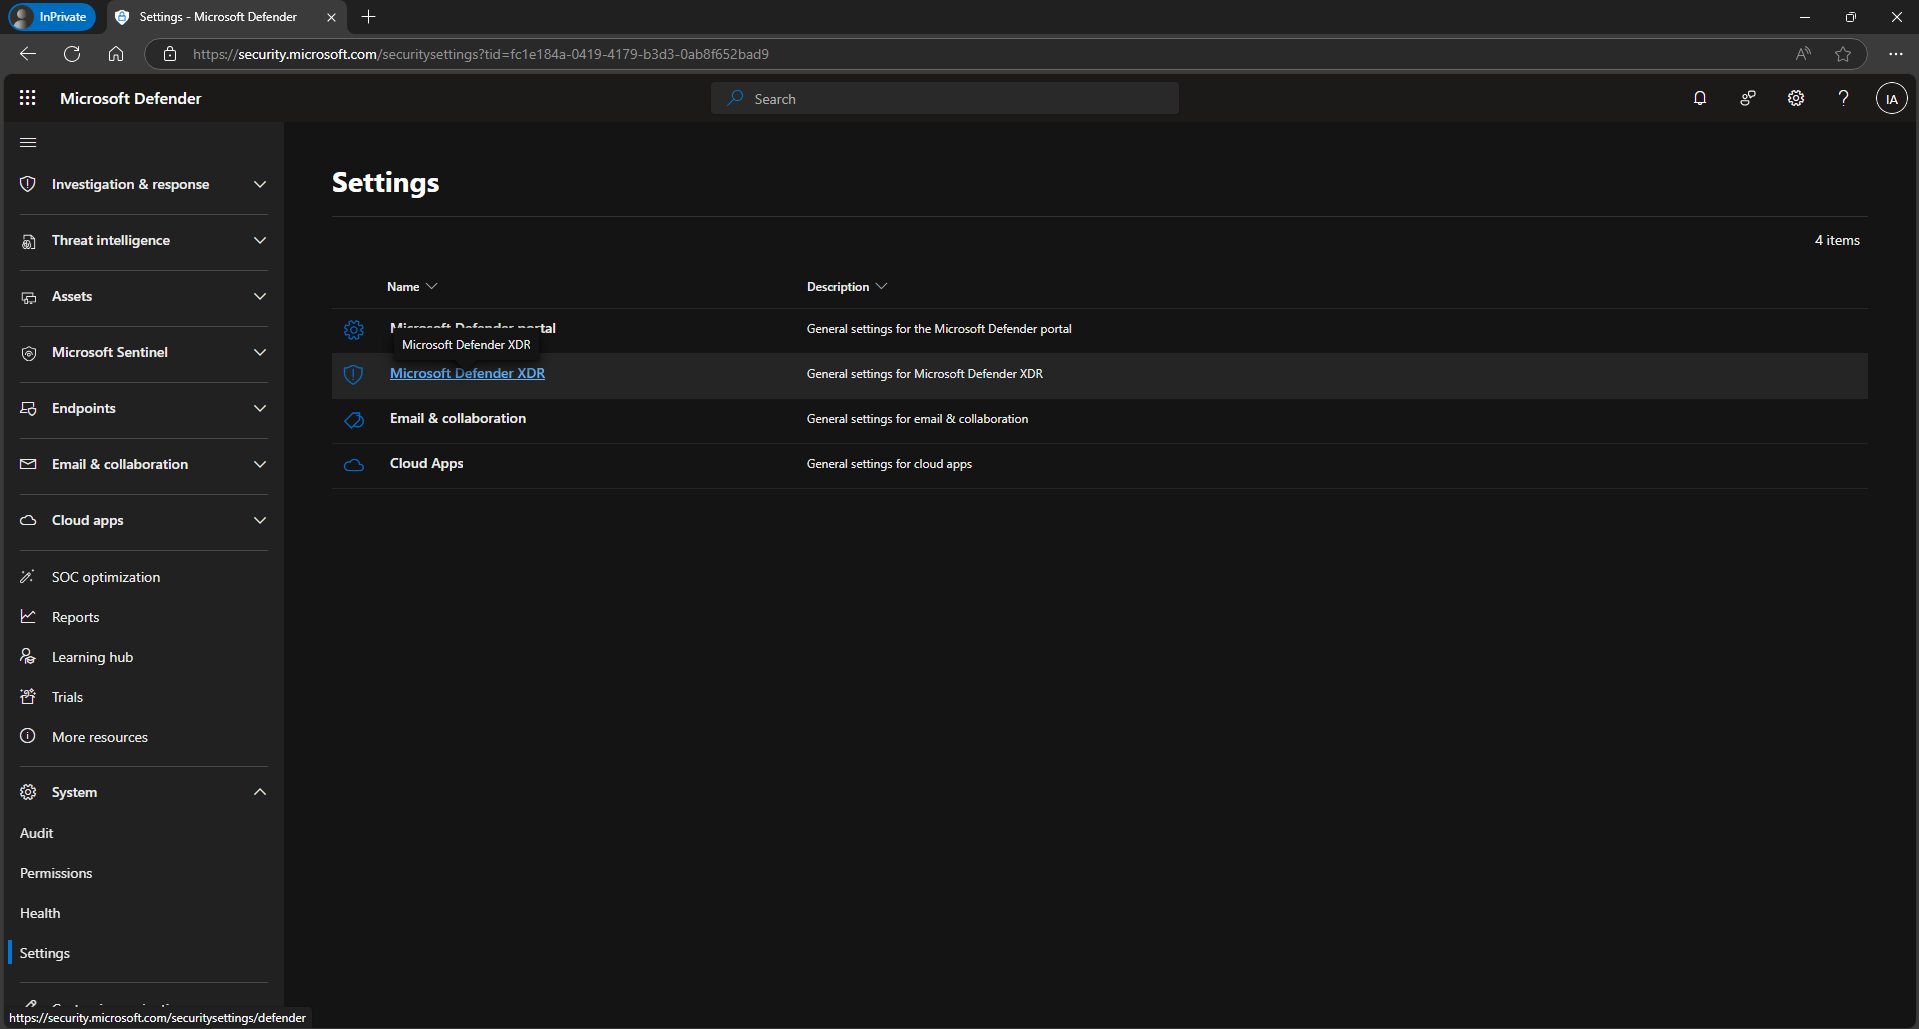
Settings page with the Microsoft Defender XDR entry highlighted again

Under the account section, information should now be displayed as shown below.
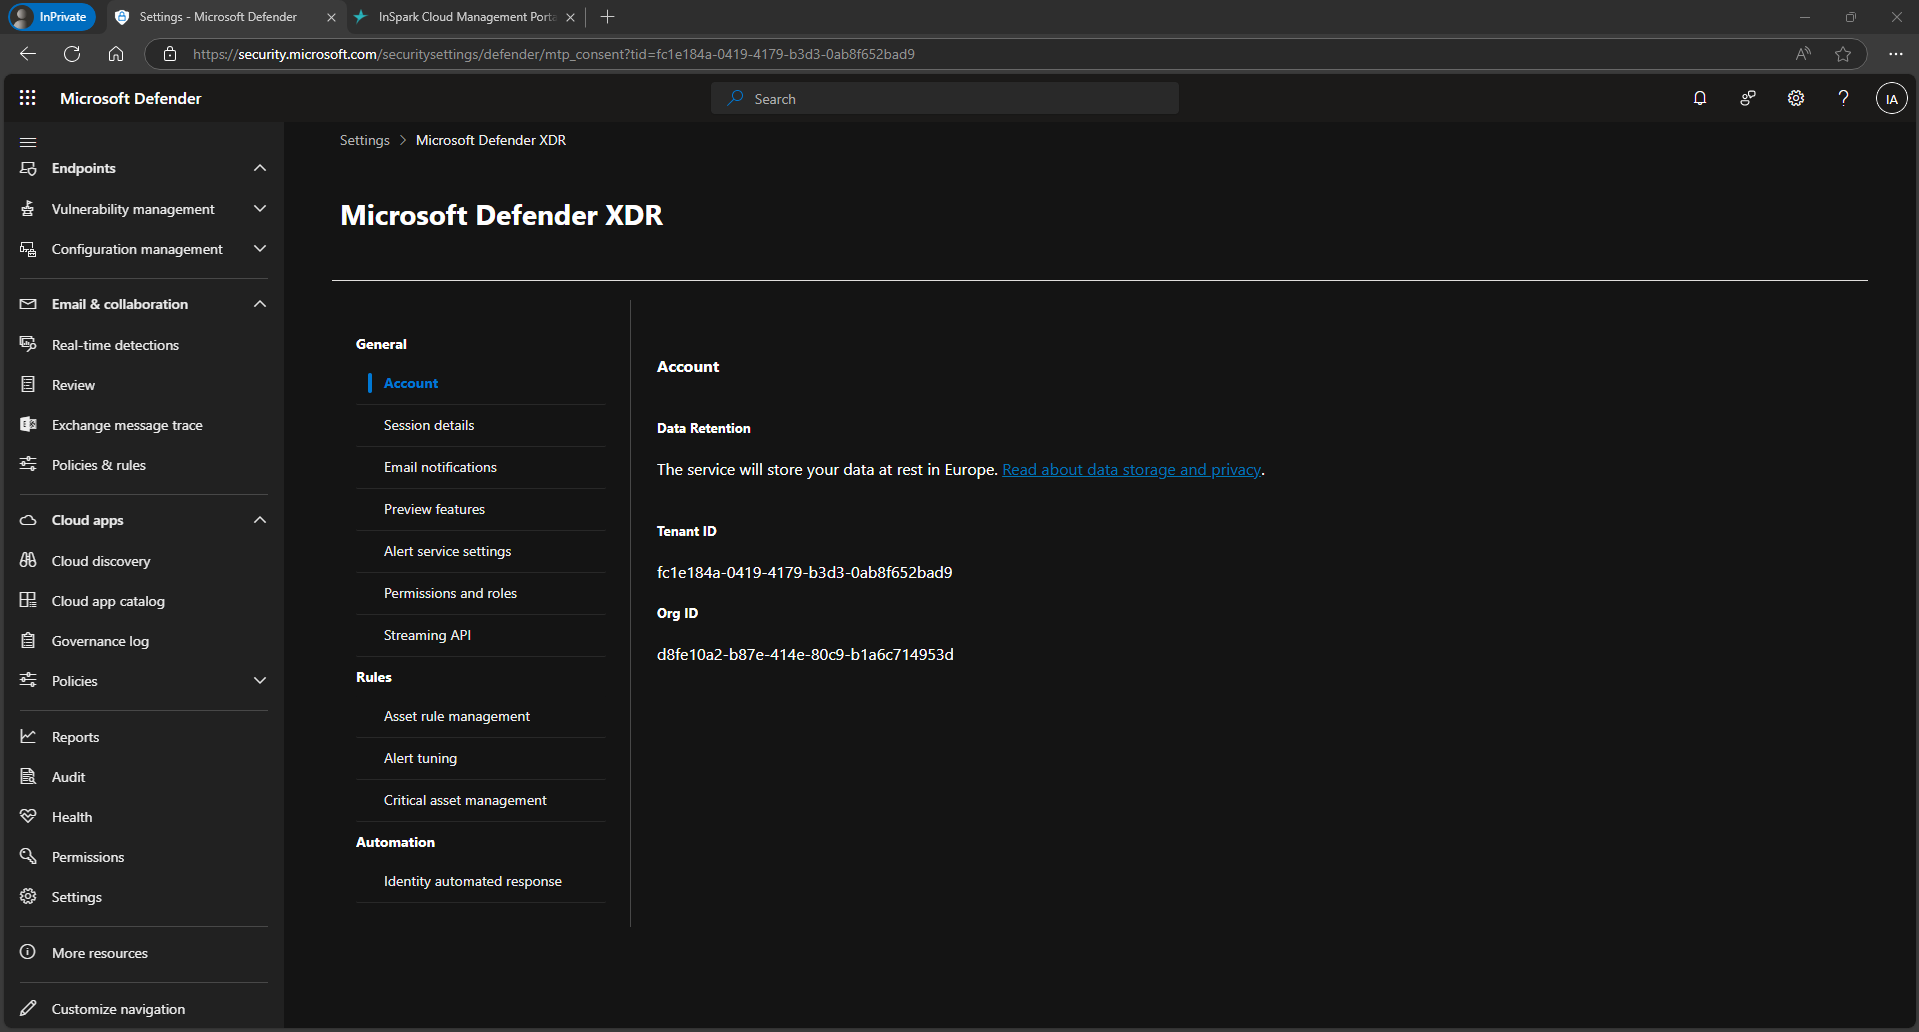
Microsoft Defender XDR account settings showing the Tenant ID, Org ID, and Data Retention region